
AWS SES Use Cases
- Marketing Emails: Promote your products and services to your key customer base (ads, promotional messages, and any other valuable information).
- Transactional Emails: A low-cost automated sending solution from SES, such as sending order confirmations, shipping notifications, order status updates, policy changes, password resets, and other transactional emails.
- Log Notification Emails: Health reports for server systems, application error alerts, workflow status updates, and other log report notifications.
- Inbound Emails: Can be used in conjunction with AWS SNS service; received messages are sent to an AWS S3 bucket.
Advantages:
- Reliable and stable operation; no need to build underlying infrastructure yourself, guaranteed by AWS.
- Excellent scalability, integrates well with other email clients.
- Most importantly, it is cost-effective. There are no upfront fees or fixed costs; you pay only for what you send, at a very low price. There may also be a free tier (uncertain).
- Best inbox placement. S3 is very secure; reportedly, the security level is 99.99999999999%.
Below is an introduction to several necessary configuration processes for SES:
I. Configure SES Identity Management (Verify Domain and Email)
Use a domain you have already registered for verification. You can use Alibaba Cloud (Wanwang), Xinnet, or preferably Route 53, since it is an AWS product!
1. Domain Verification
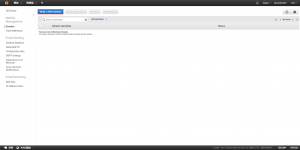
2. Add Domain Name
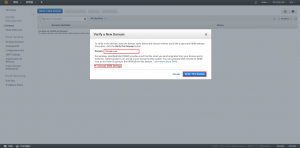
3. Save DNS Resolution Information
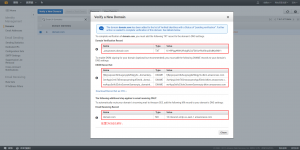
4. Return to Console to Check Status (Pending Verification)
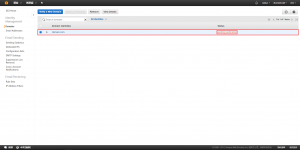
5. Confirm Verification Information
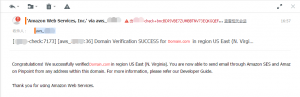
6. Status Bar Display (Verified)
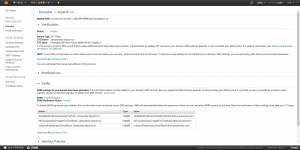
7. Email Address Verification
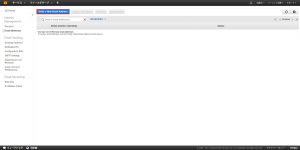
8. Fill in Email Address
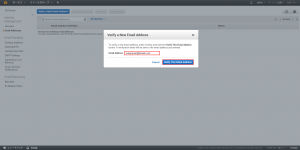
9. Email Verification Prompt
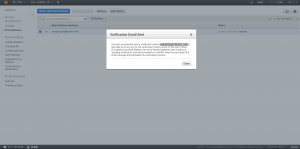
10. Status Pending Verification
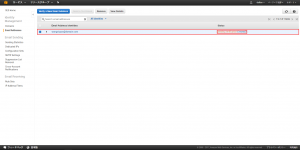
11. Email Confirmation Link
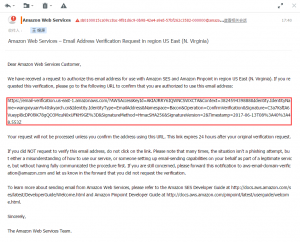
12. Web Verification Address
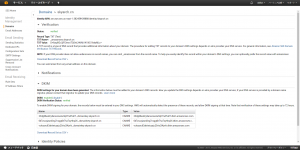
13. Status Displayed as Verified (Verified)
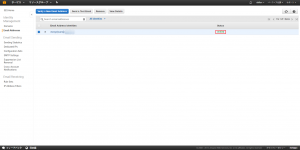
14. Send Test Email
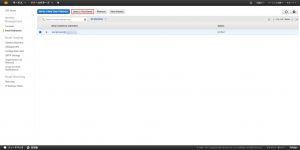
15. Fill in Email Information
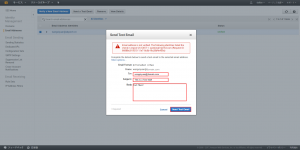
16. Confirm Email Content
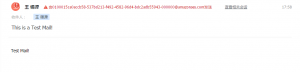
The identity verification process is now complete.

At this stage, AWS SES allows selection of only three regions: US East, US West, and EU (Ireland). However, using it in the Japan region does not cause issues, and many large Japanese companies are using it. Given my limited English and Japanese skills, I have translated the sidebar of the SES console to facilitate my own understanding and usage.
Sidebar:
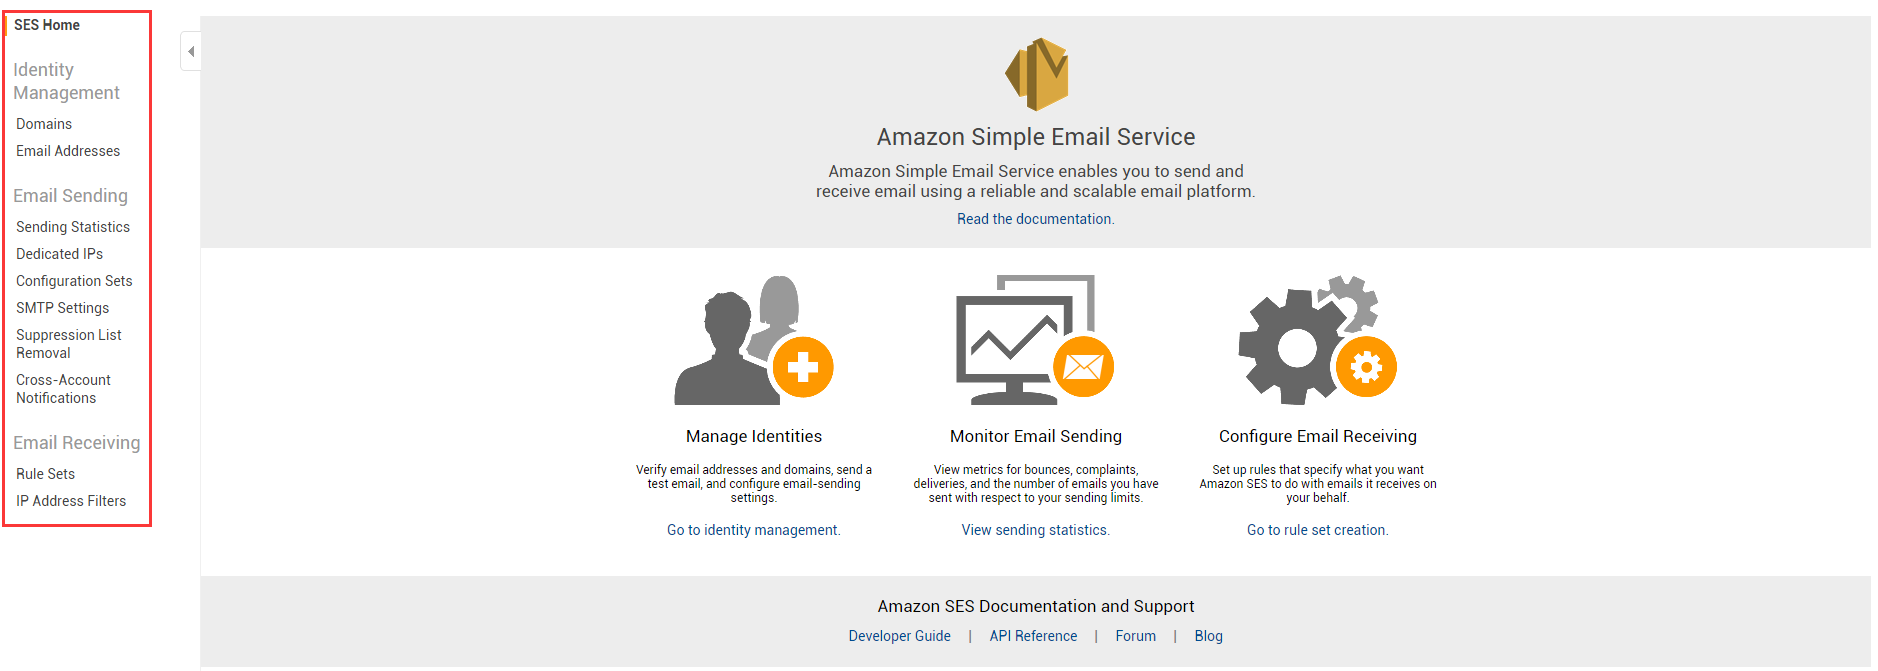
SES Home
1. Identity Management
Domains
| Verify a New Domain |
| Send a Test Email |
| Remove |
| View Details |
Email Addresses
| Verify a New Email Address |
| Send a Test Email |
| Remove |
| View Details |
2. Email Sending
Sending Statistics
| Request a Sending Limit Increase |
Dedicated IPs
| By default, shared IP addresses are used with other customers, but dedicated IP addresses can be used. |
| Using dedicated IP addresses allows full control over email sending reputation, isolating the reputation of your independent mail flow. |
Configuration Sets
| Create a Configuration Set |
SMTP Settings
| Create My SMTP Credentials |
Suppression List Removal
| Add Email Address |
Cross-Account Notifications
| Add Notification Configuration |
3. Email Receiving
Rule Sets
| Create a Receipt Rule |
IP Address Filters
| Create Filters |

When first using the AWS SES sending service, you will find that SES is in “Sandbox Mode,” which defaults to allowing only 200 emails to be sent. This cannot meet the needs of customers with high sending volumes. In this case, you need to contact AWS Technical Support to remove your account from Sandbox Mode.
I found two Q&As on other websites:
Question 1: Send Test Email fails with “Email address is not verified”?
Answer: When your SES account is in “sandbox” mode, you can:
Only send from verified domains and email addresses, and
Only send to verified domains and email addresses.
To send to anyone else, you must move your account out of sandbox mode by contacting AWS support and requesting it.
Question 2: Amazon SES Email Sending Limit Issues? (This item is cited from a domestic website)
Answer:
- The biggest issue when first using Amazon SES is the “Sandbox” mode, meaning the account needs to send several test emails before Amazon SES automatically lifts quota restrictions. If you think this is too slow, you can submit a ticket to customer service.
- Amazon SES initially only allows sending emails to verified email addresses or domains. To send emails, you must first add the email address in Amazon SES.
- Enter the email address for verification. Amazon SES will send an email containing a verification link to this address. Click the verification link to enable sending.
- The method for adding a verified domain is the same.
- Remember to check “Generate DKIM Setting” when entering the domain name.
- After confirmation, TXT and CNAME records for the domain will be generated.
- Add the TXT and CNAME records to your domain’s DNS management place. After successfully verifying the domain, you can send emails to all email addresses under that domain.
The steps to apply for removing restrictions are as follows:
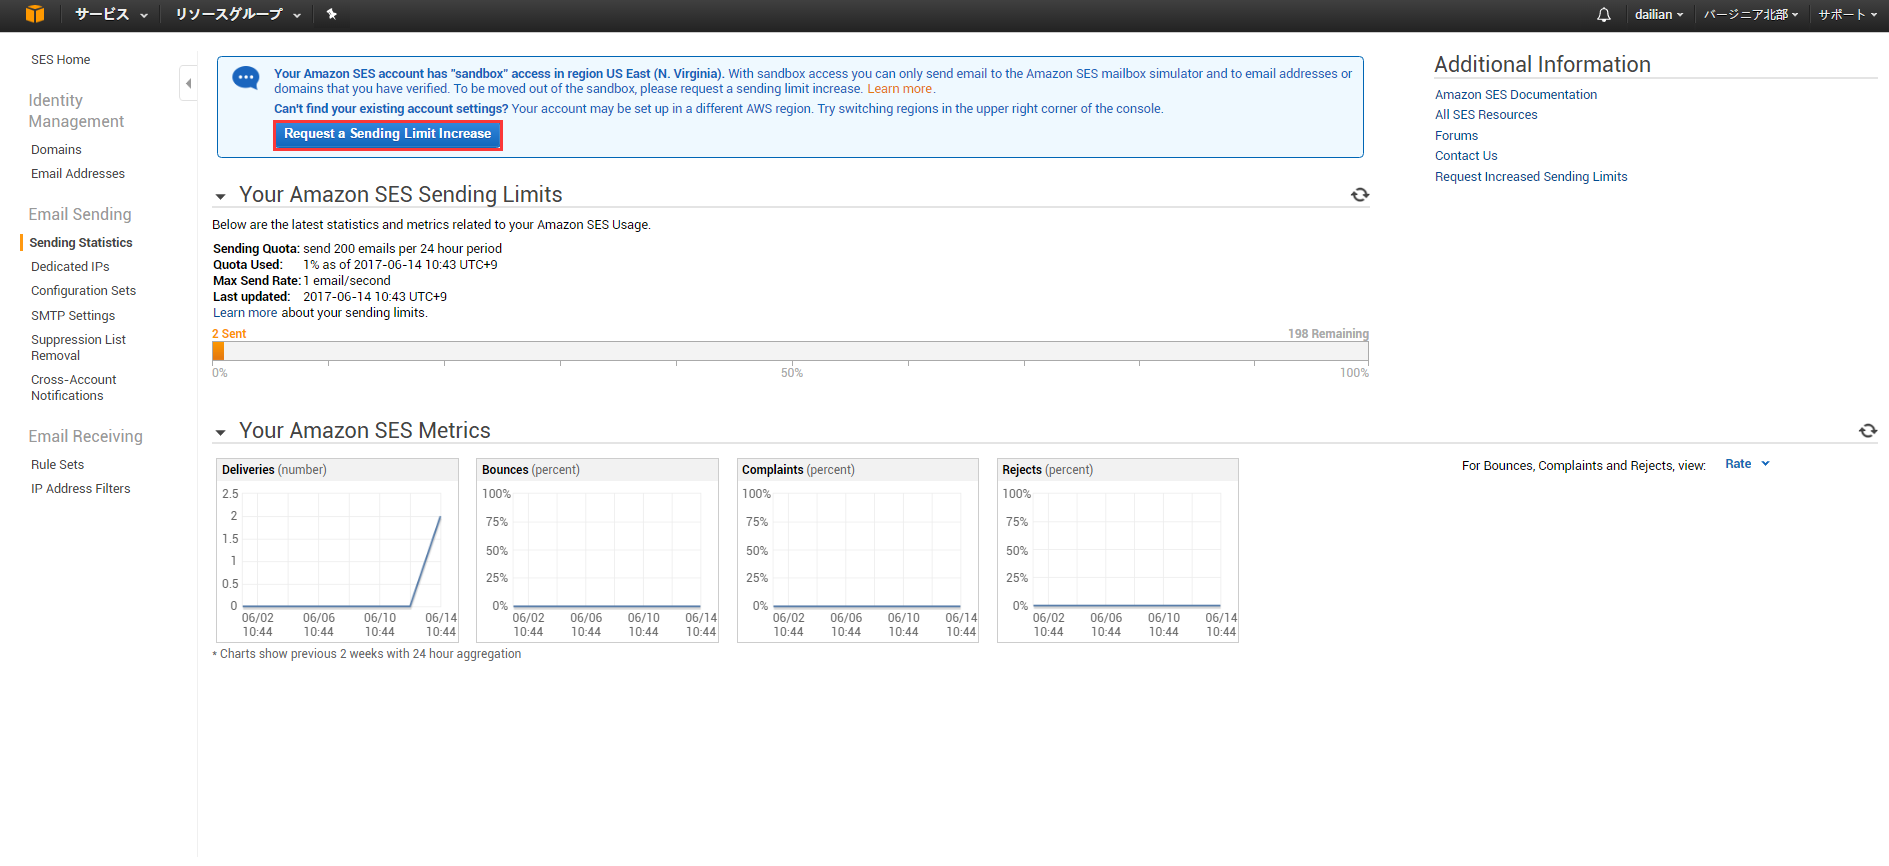
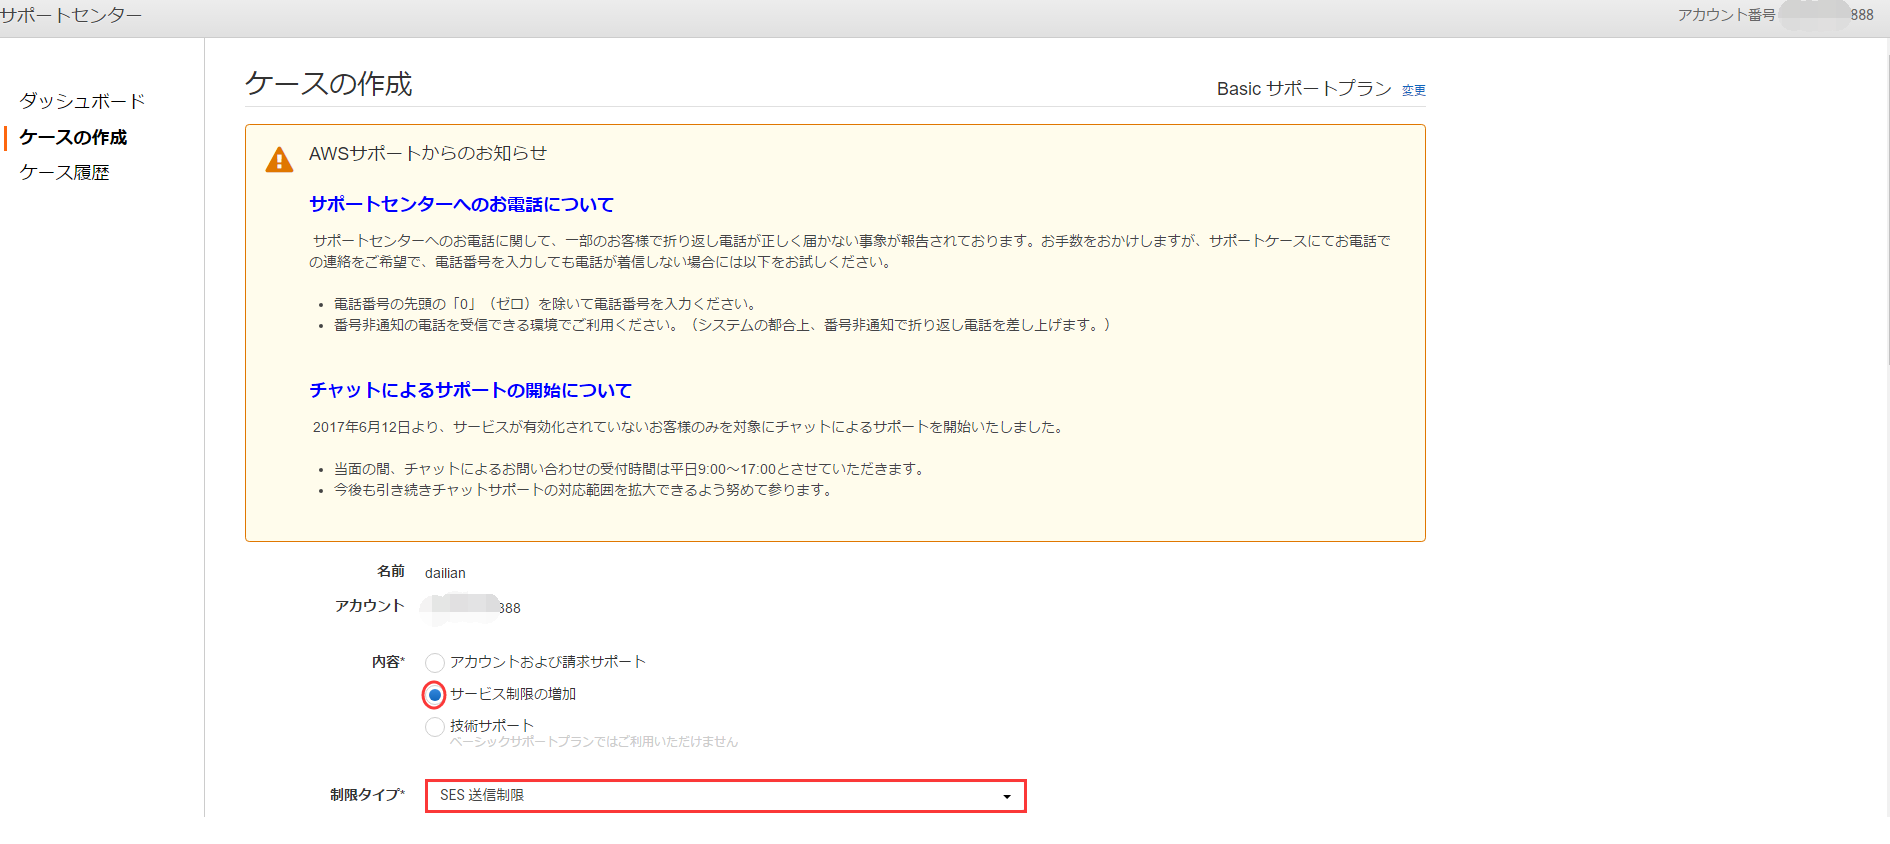
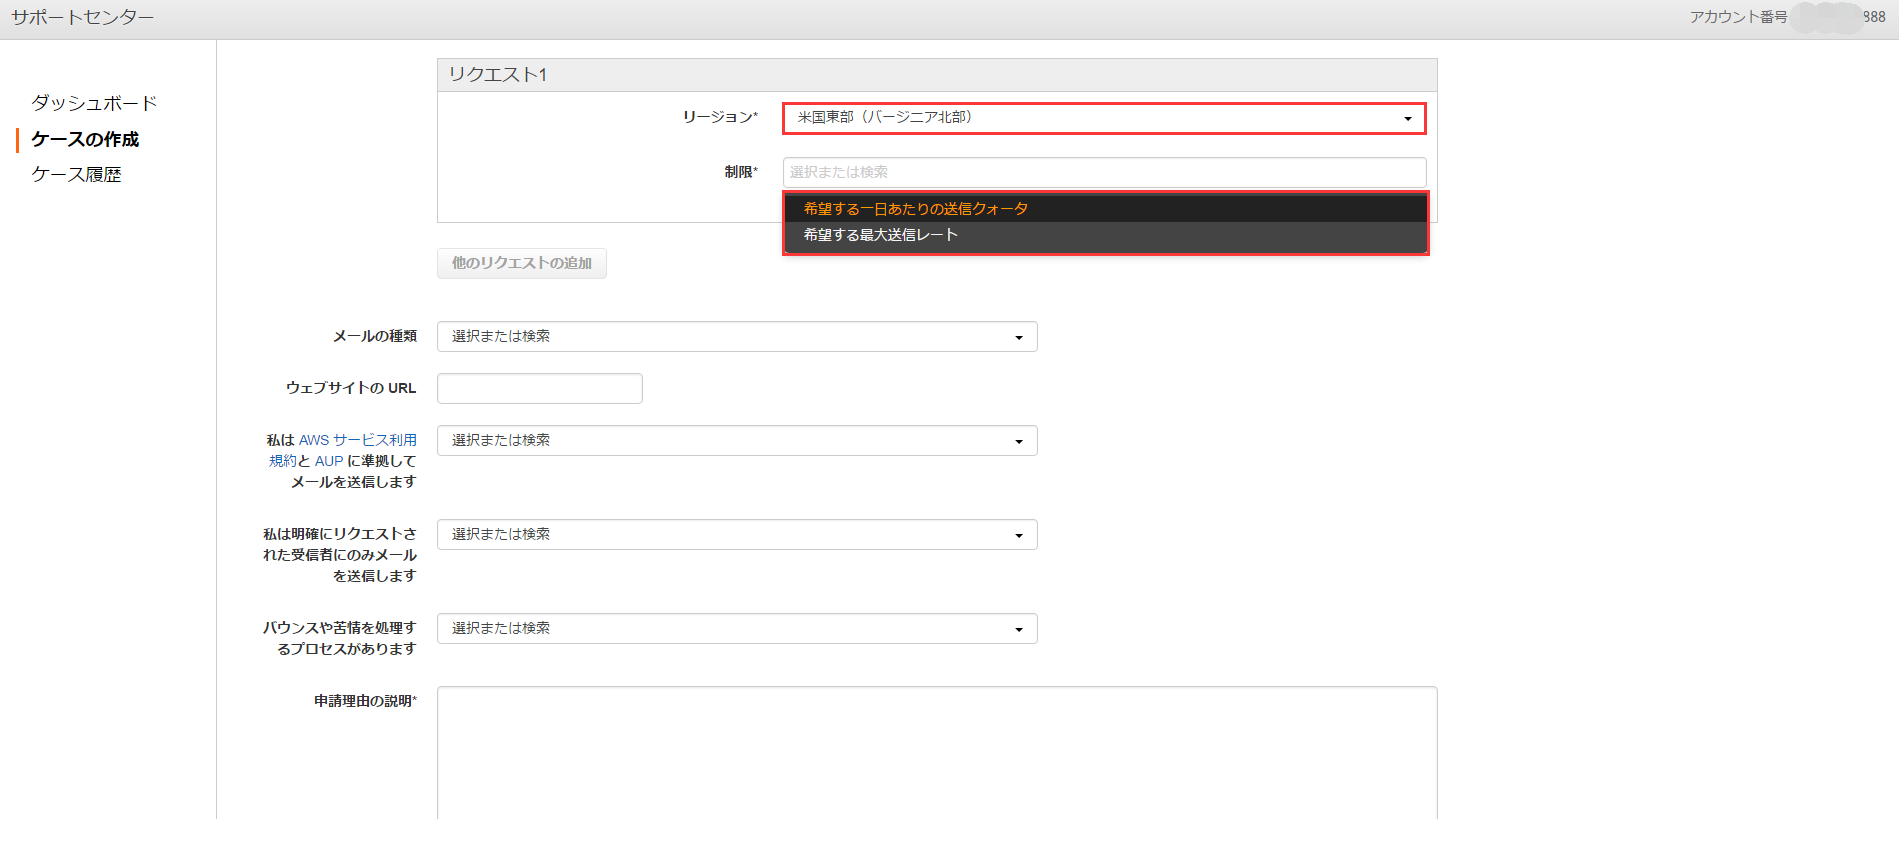
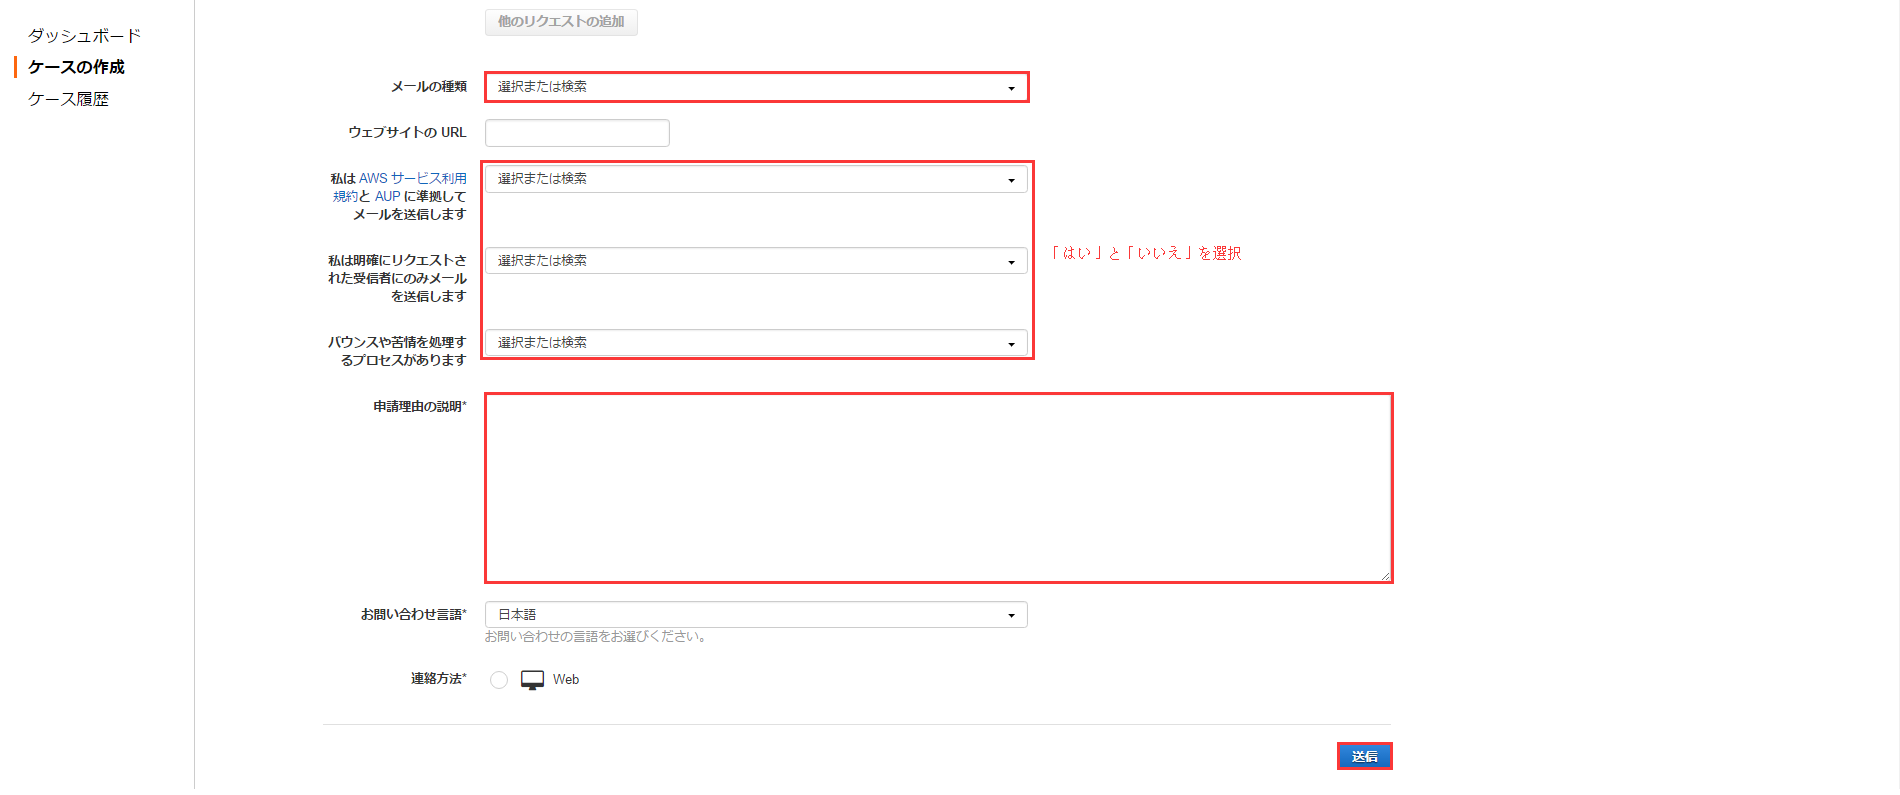

To apply for API calls with AWS SES, this article uses screenshots to show how to operate. The text content is minimal; it’s basically clicking “Next” all the way through. Note that we also need to apply for an IAM account in the AWS console specifically for SES usage, because we need the IAM user’s [Access ID] and [Access Key]. Without these two items, not just anyone can make calls.
Please refer to the following screenshots for the application process (no numbers, just look at them one by one):
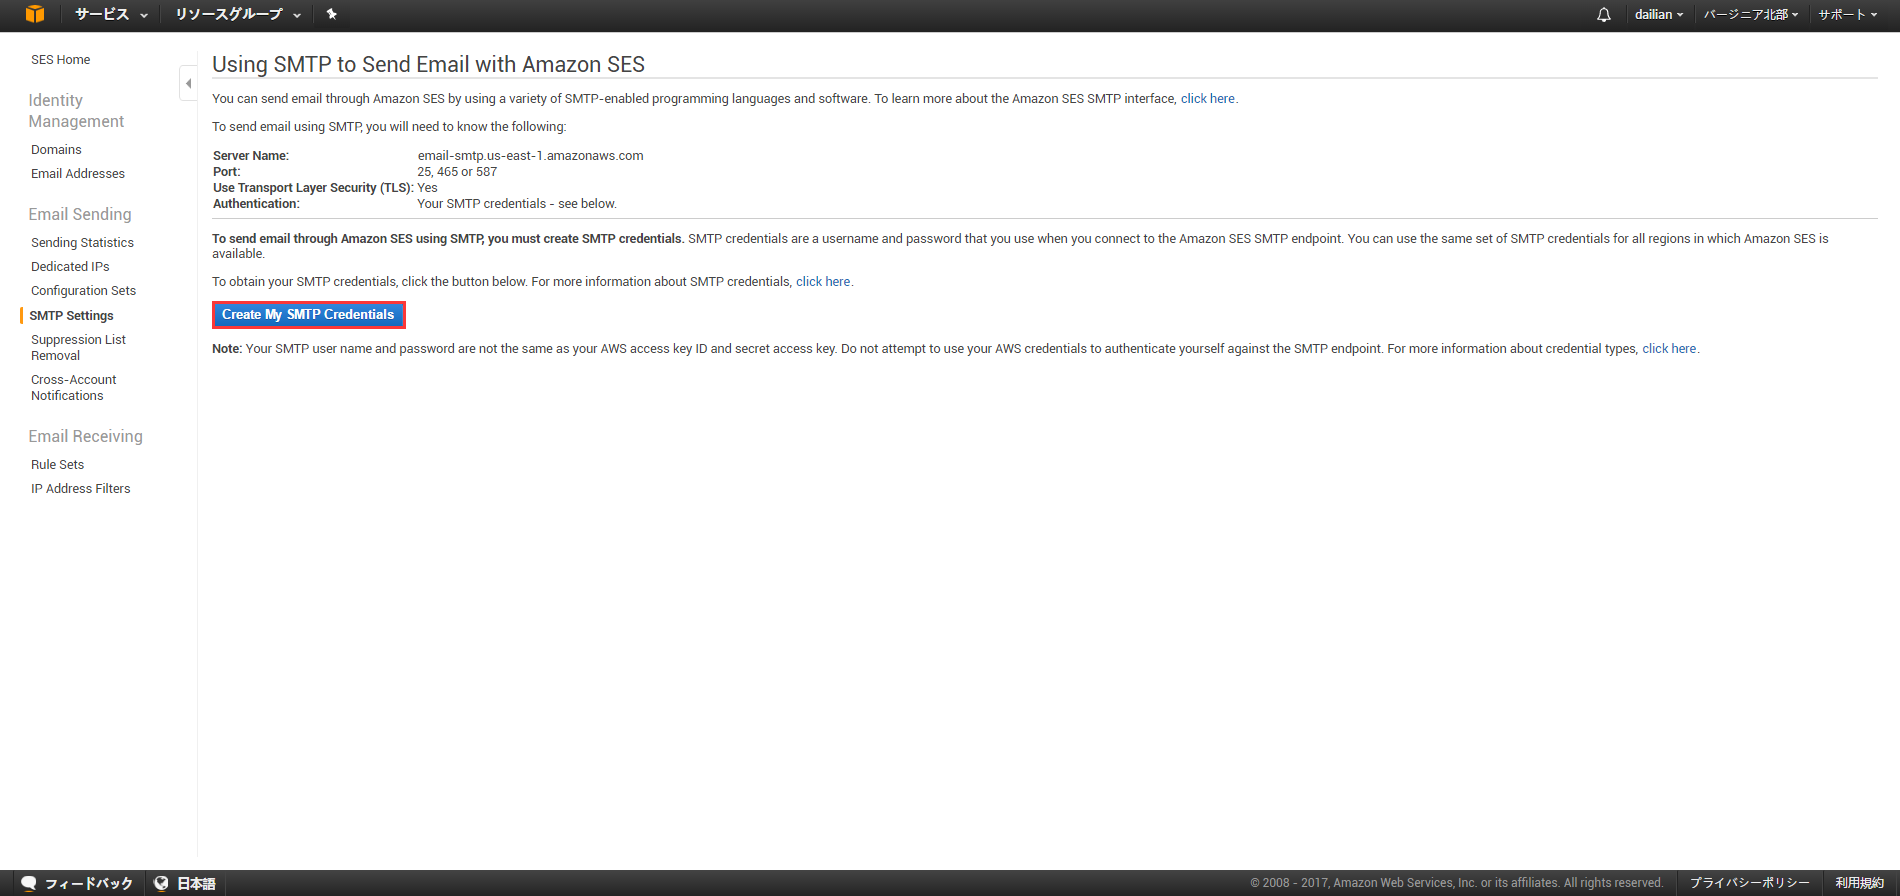
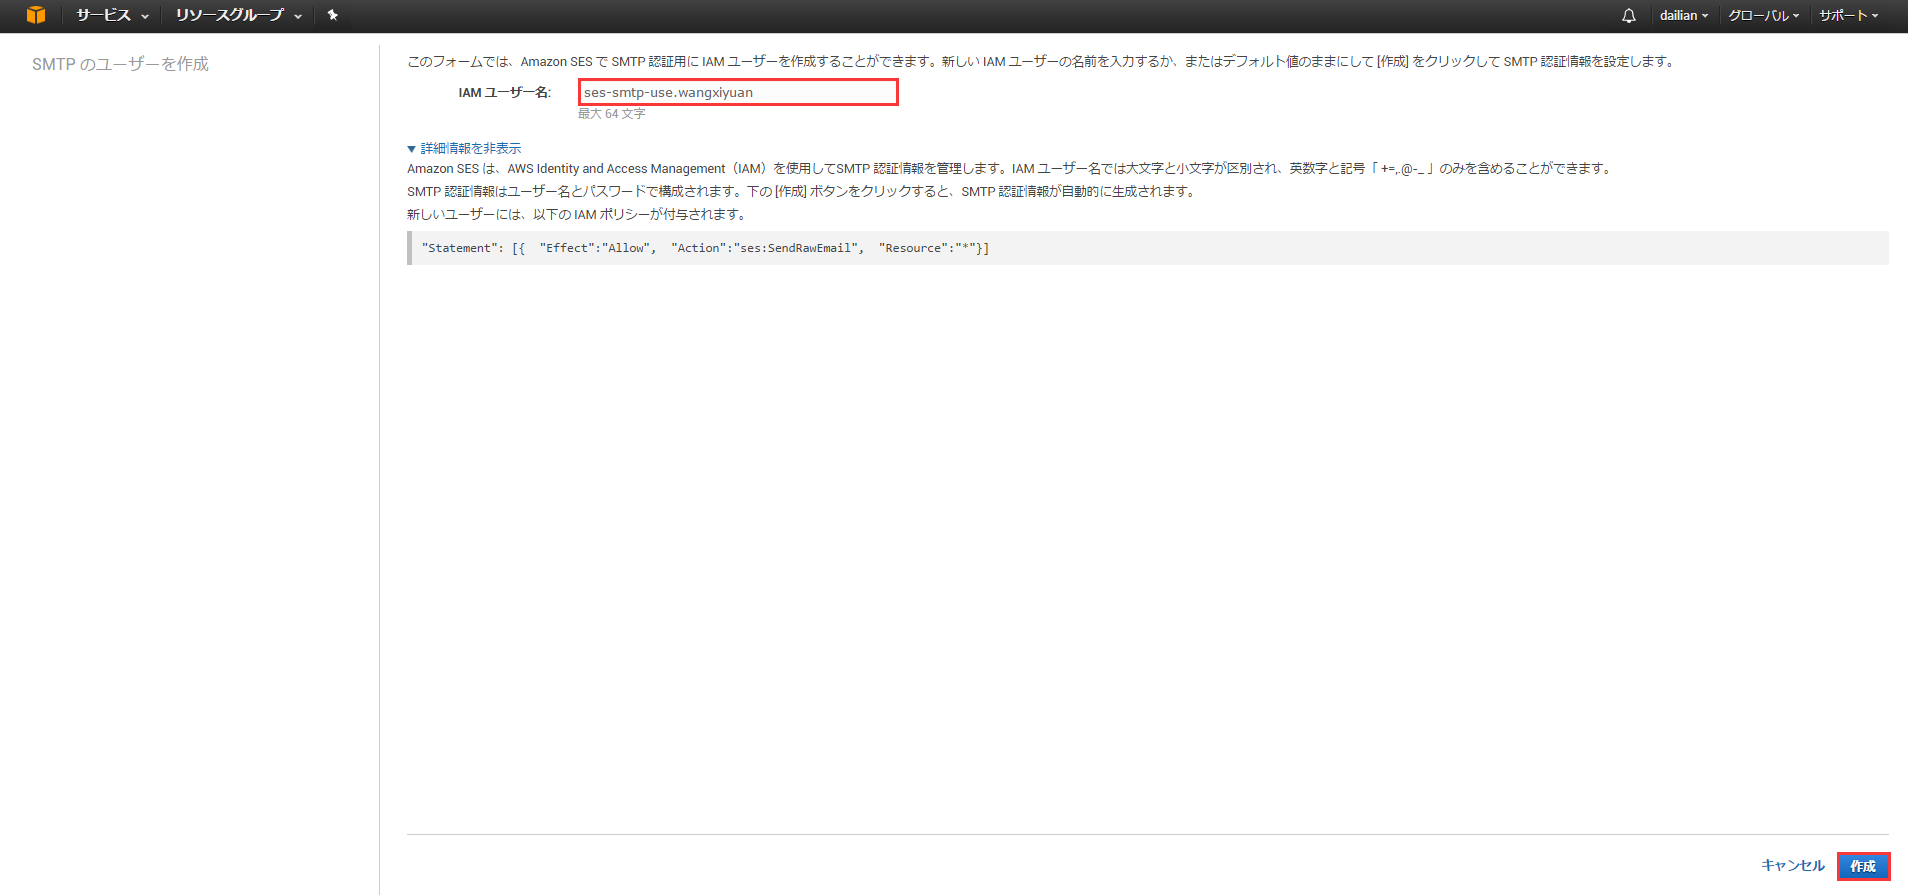
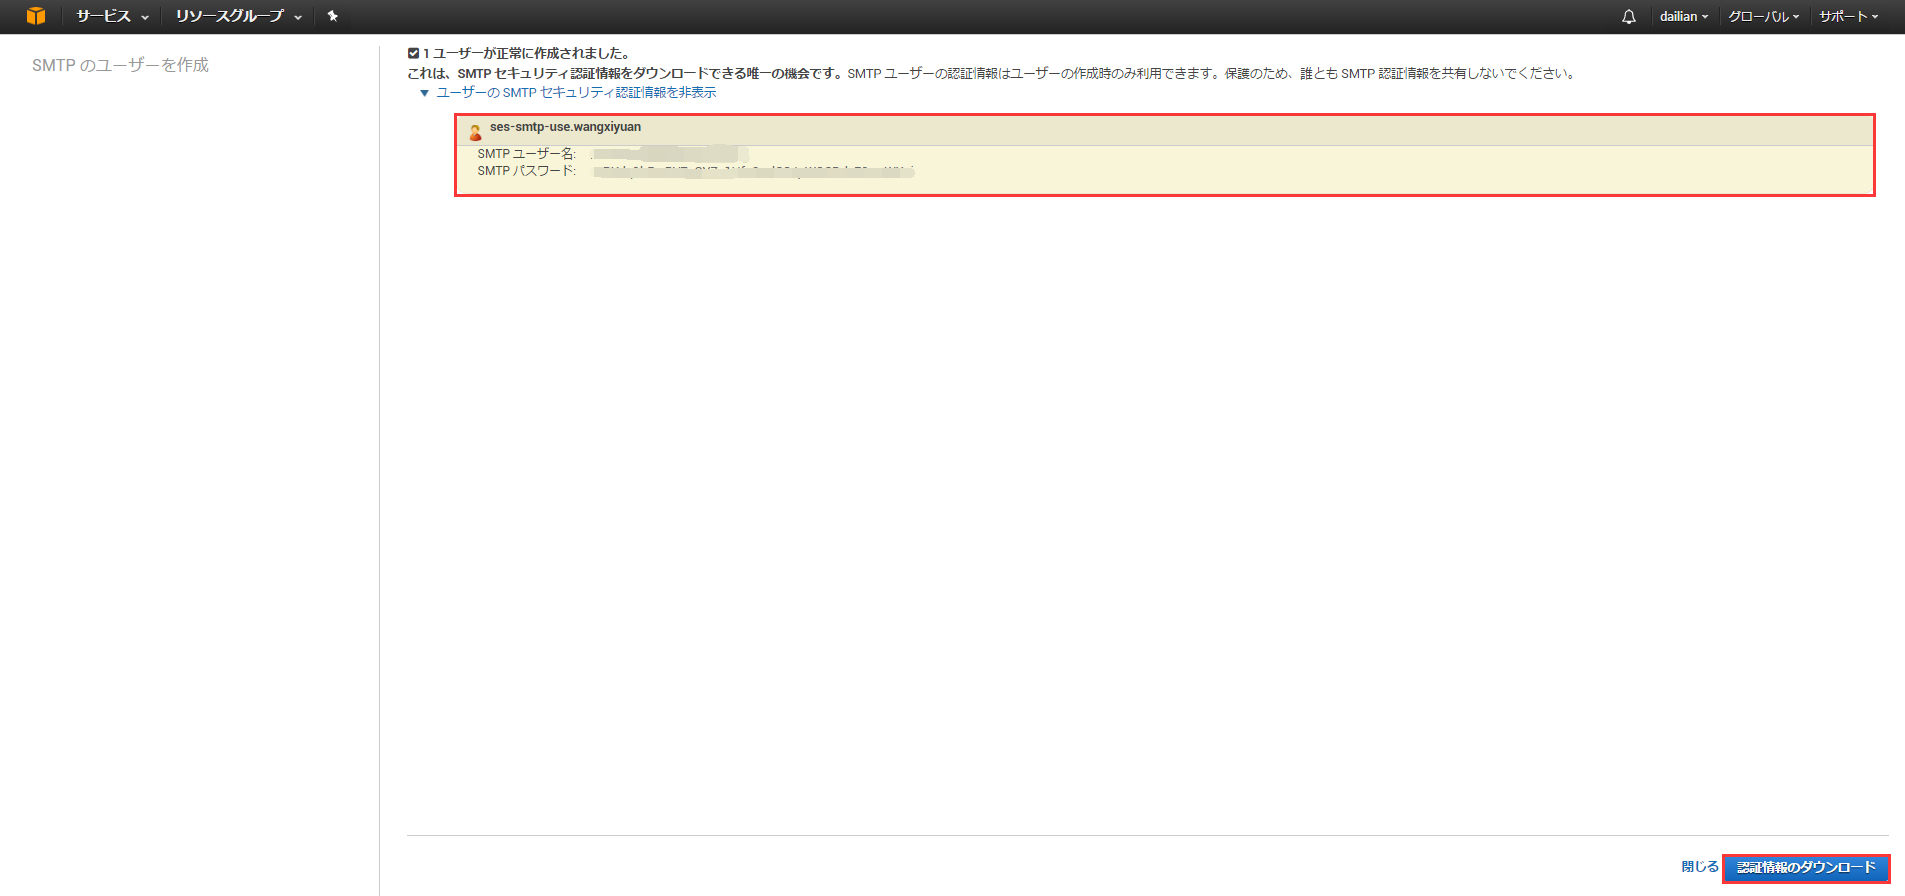
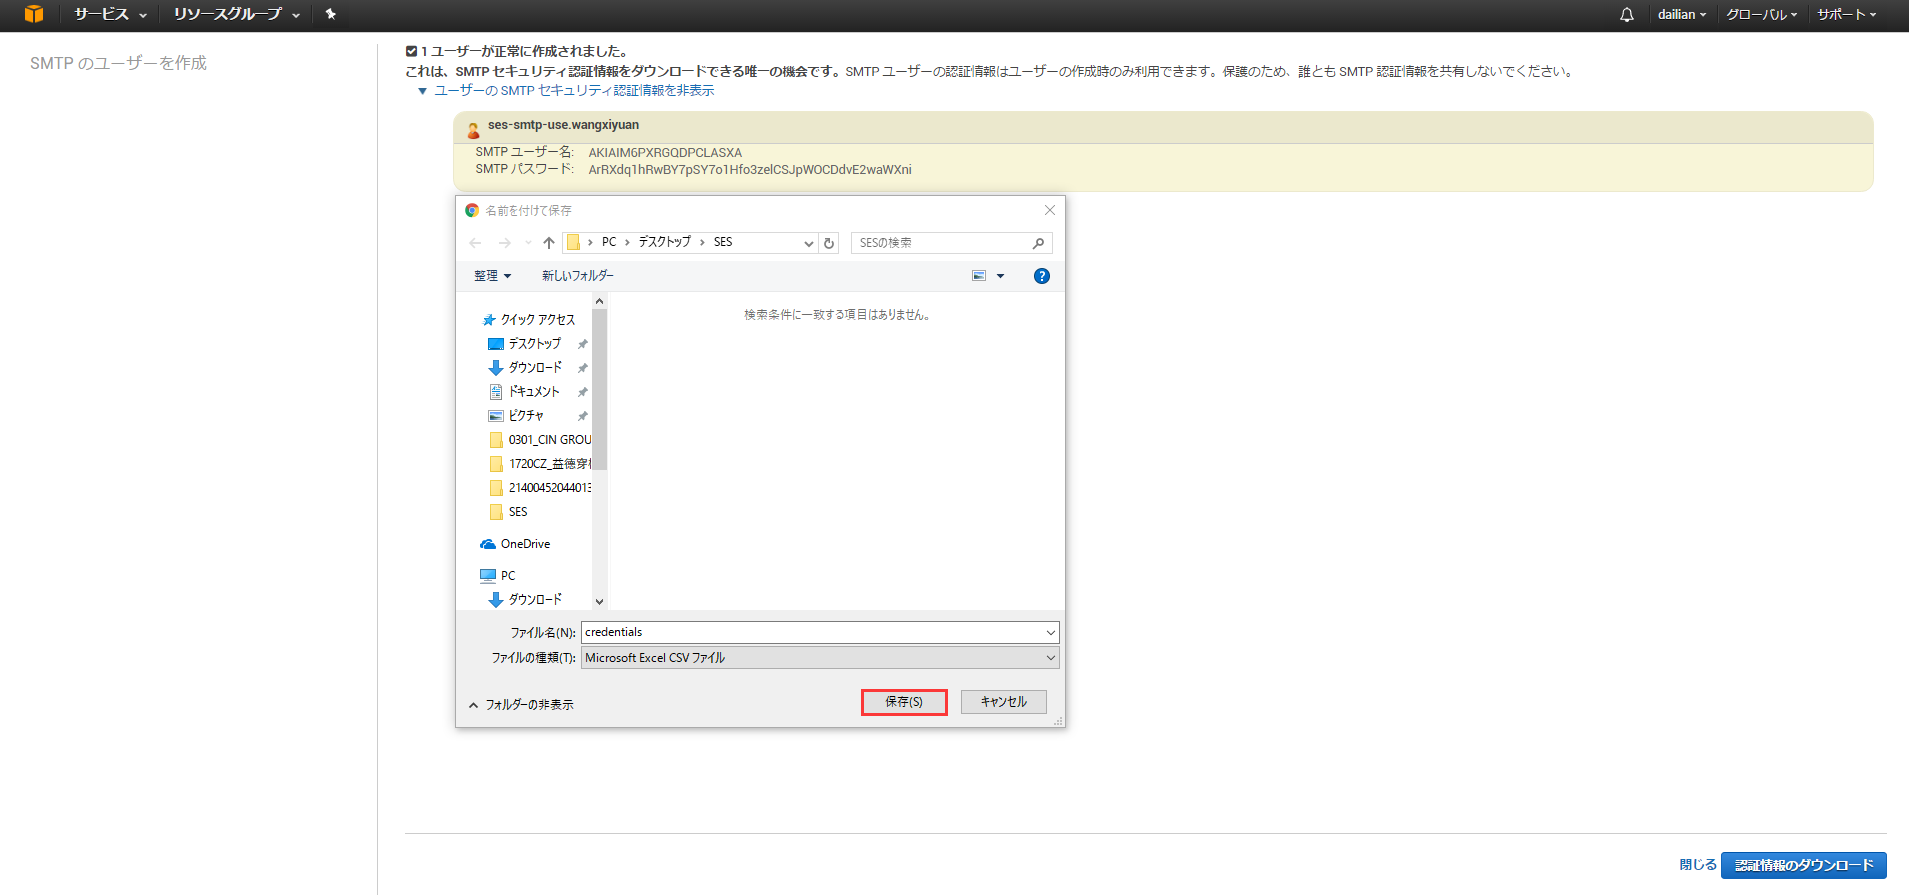
Note: The content downloaded above is the required ID and Key. Be sure to save them properly!

Below is an example of how to call the API using WordPress, which we all know:
You need to install a plugin first. This tool is very convenient and easy to understand.
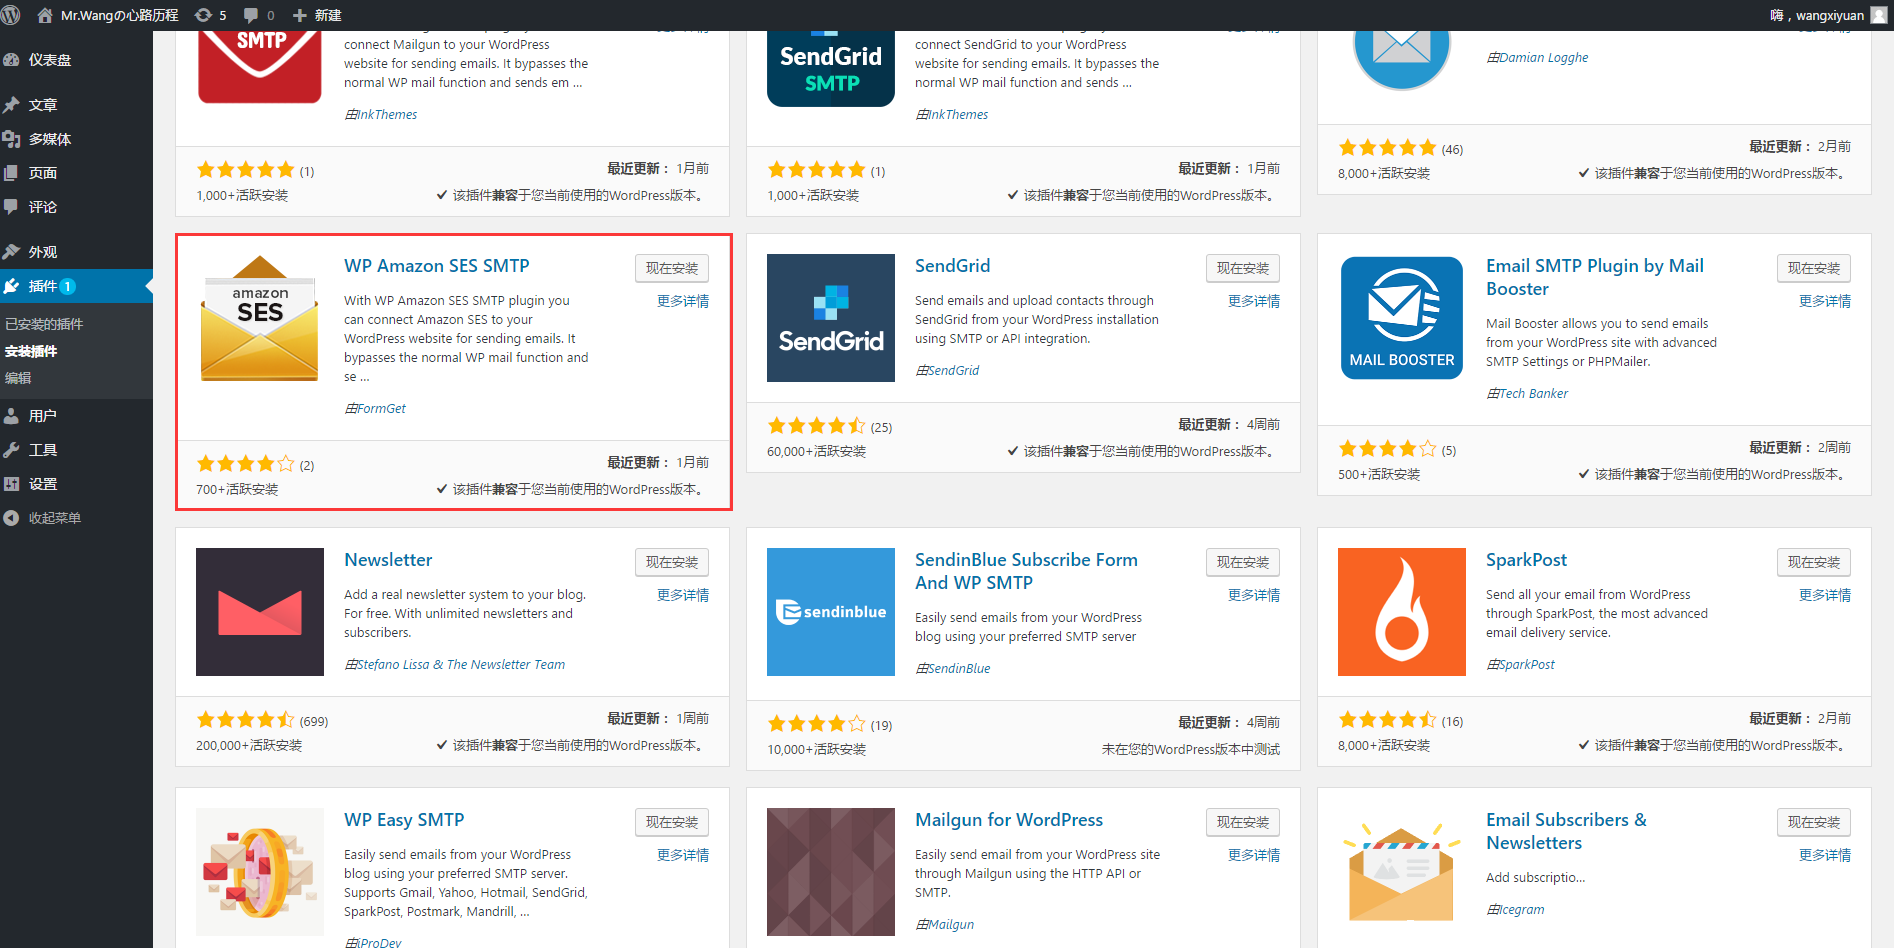
WordPress API Call Usage Information (pay attention to the previous text):
SMTP Host: SMTP Server Name
SMTP Port: 25, 465, or 587
SMTP User: Get Username
SMTP Password: Get Password
IAM: IAM created for SES
Access Key ID: IAM User Access ID
Secret Access Key: IAM User Access Key
The above is the entire process for obtaining API call information.