
Setting up Google Compute Engine (GCE) can be quite cumbersome, so I have created this tutorial to outline the main creation process. I hope it helps.
Please pay attention to the text descriptions accompanying the images below; these highlight important points that require your attention.
There are 5 main steps:
- Registration
- Create a Project
- Create a VM Instance
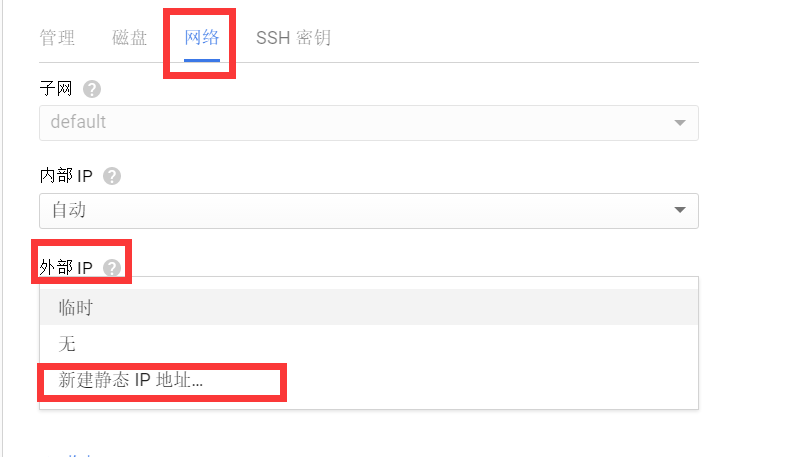
- Remember to create a static external IP address
- Firewall Settings
- SSH Key Setup (If you are unfamiliar with SSH keys, you may need to review some basics)
Step 1: Registration
Official Website: https://cloud.google.com/
Click “Try Free” in the top right corner. Registration requires linking a credit card, so you will need one capable of making payments. I won’t go into detail about the registration process itself.

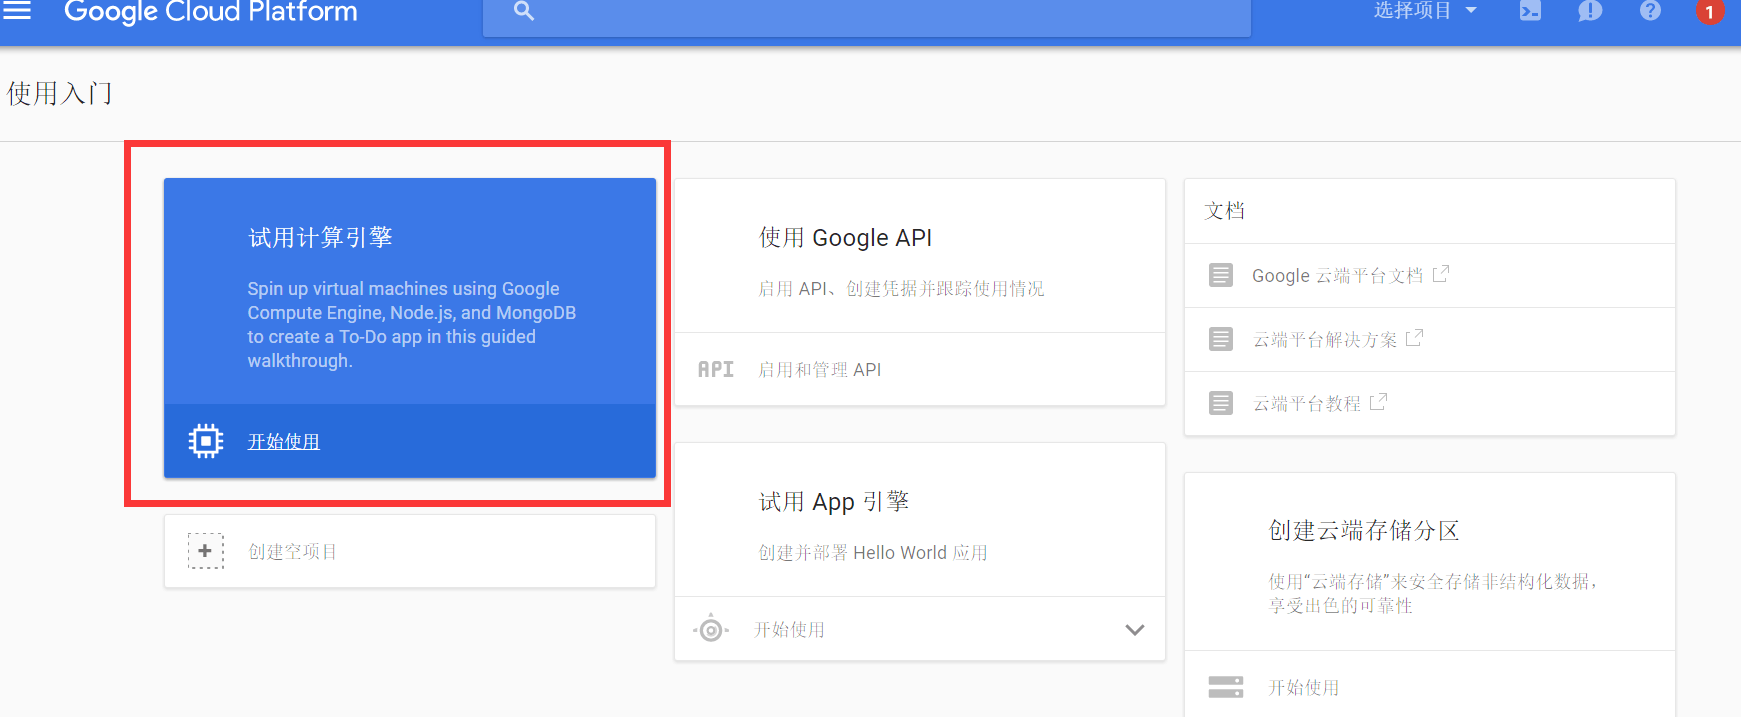
Step 2: Create a Project
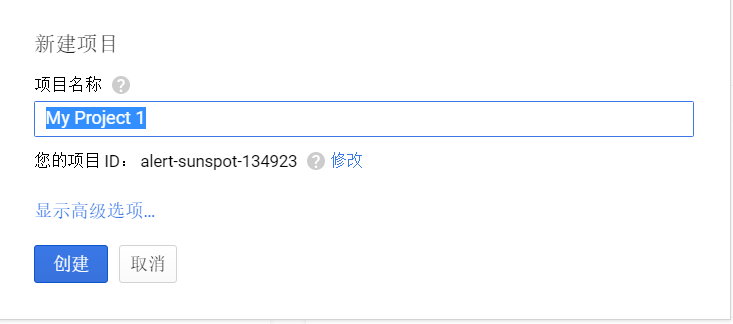
Here, you only need to fill in the project name; there is no need to select advanced options. Just click Create.
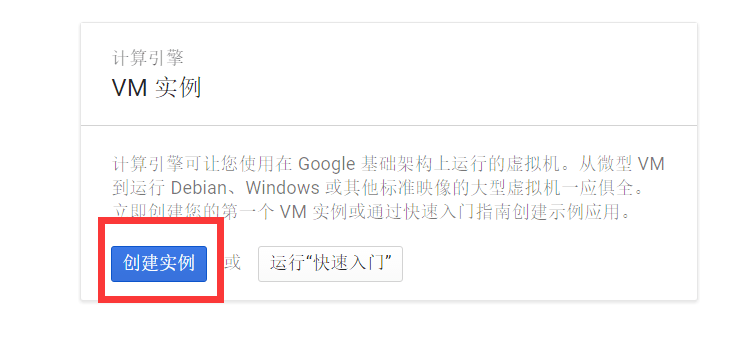
Step 3: Create a VM Instance
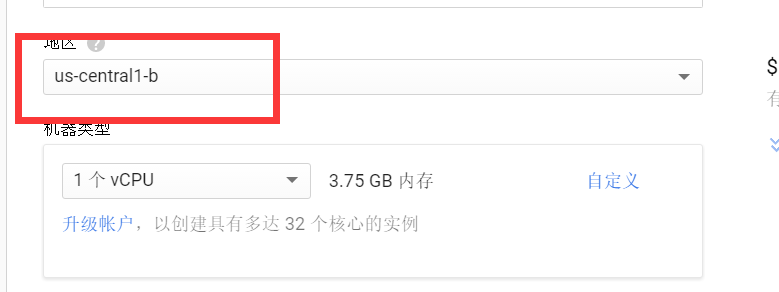
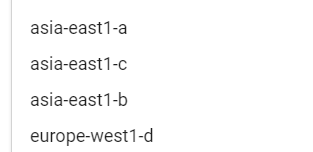
When creating the instance, you must select a region! “asia-east” refers to the Taiwan node, which includes zones a, b, and c. It is said that zone c performs slightly better.
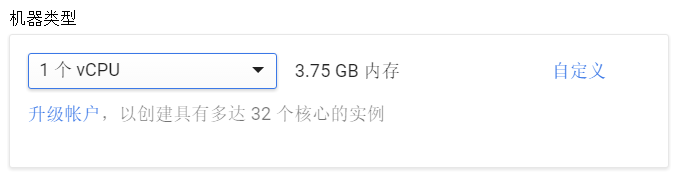
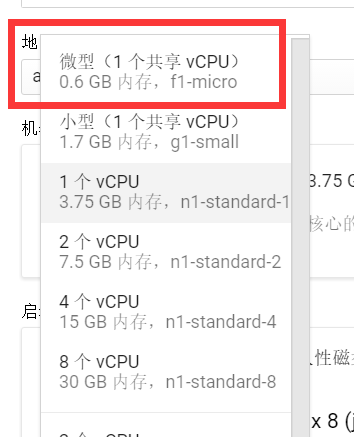
Select the machine type. The default option costs $28 per month, while the lowest configuration costs $5 per month.
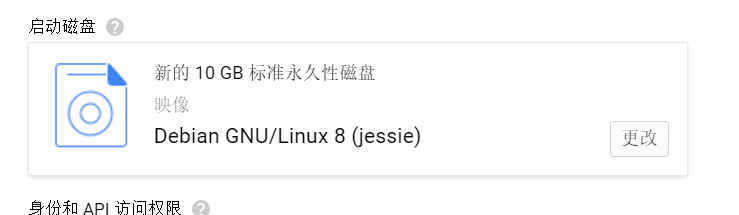
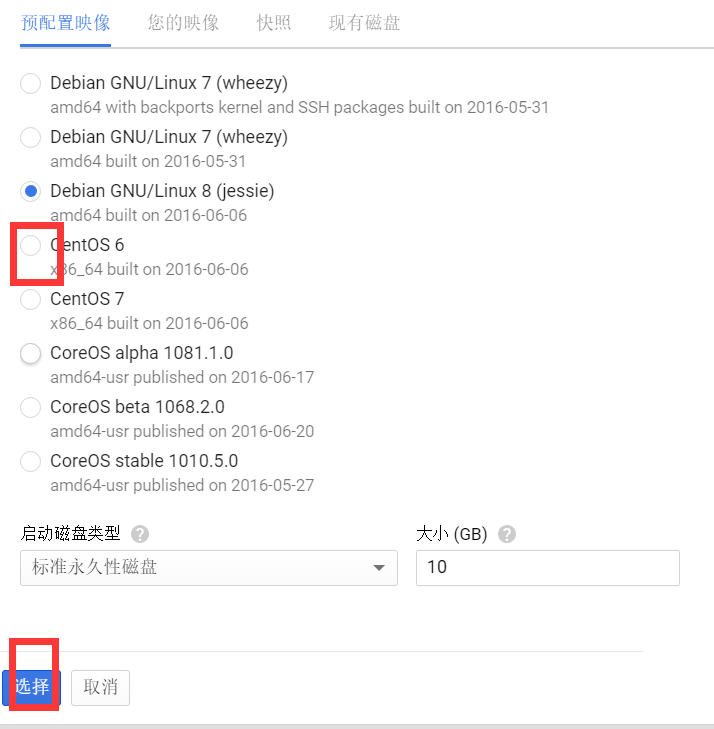
Select the operating system. CentOS 6.8 requires downgrading the kernel before installing Raxxle (Ruishu). Other systems have not been tested.
Finally, you need to configure the network and create an external IP address.
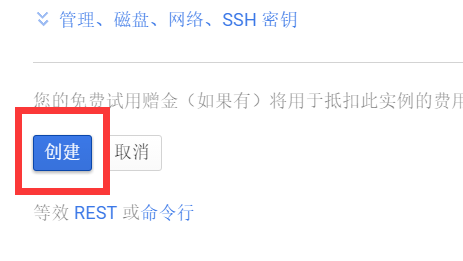
Once you select Create, the instance will be successfully created!
Step 4: Add SSH Key
GCE only allows SSH connections via SSH keys. If you do not know what an SSH key is, you should learn about it first. Here is a brief introduction on how to generate an SSH key and connect using Xshell 5.
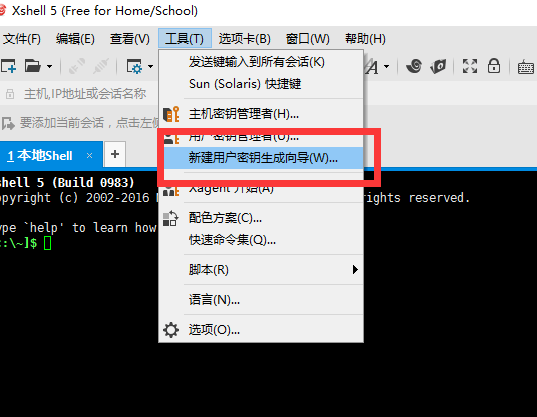
Select “Key Pair Generator Wizard” from the Tools menu.
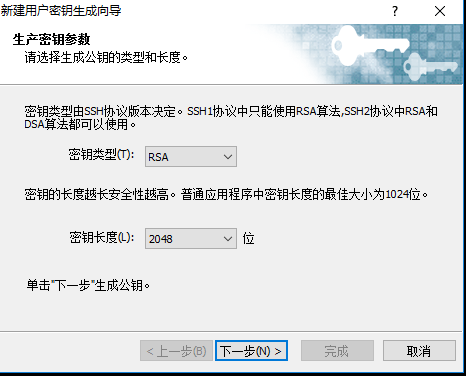
Click Next.
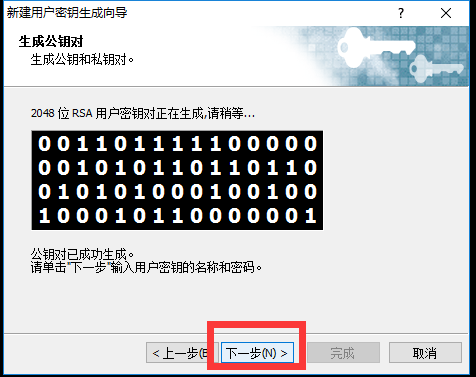
Click Next again.
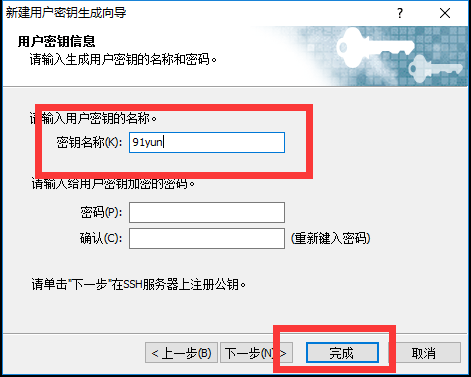
Change the private key name to something easy to remember. The password can be left blank. Then click Next.
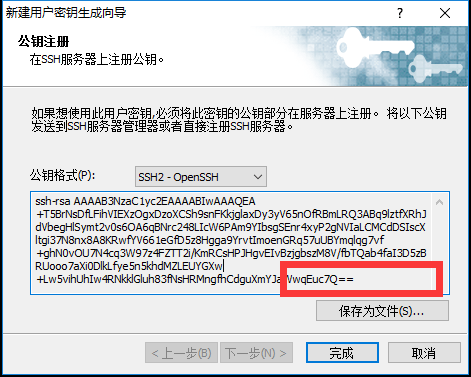
The public key has been generated. Please make sure to record this public key!! You can choose to save it as a file for future reference. The SSH public key (placed on the server) and the private key (kept on the client) correspond one-to-one.
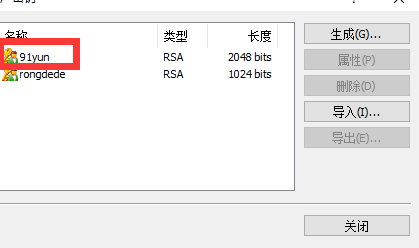
After generation, the private key is already in the Private Key Manager panel.
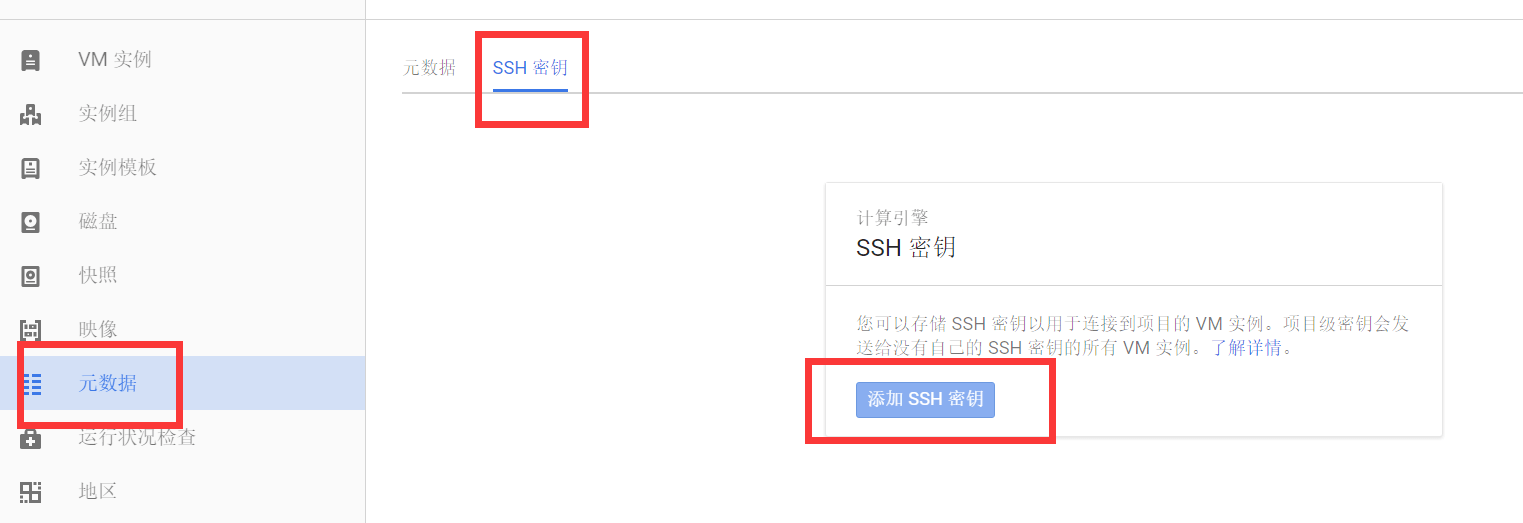
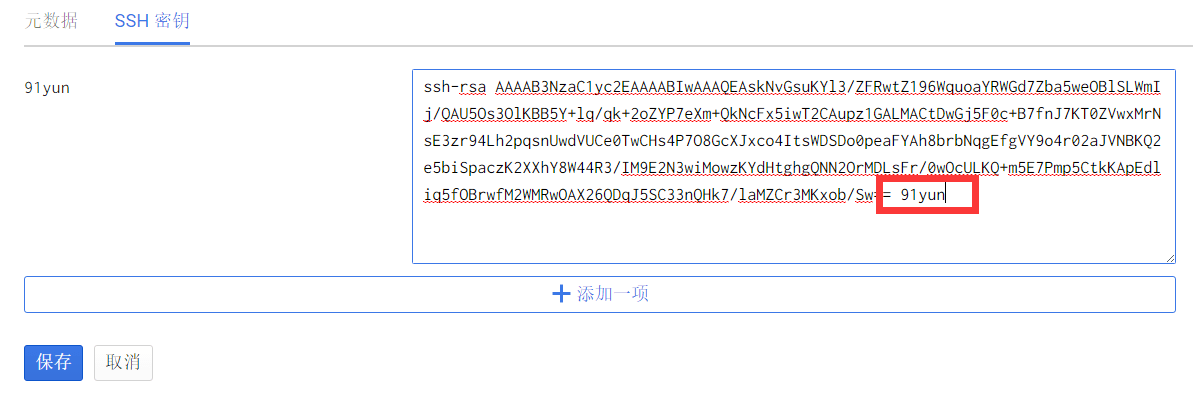
For the final step, copy the generated public key into GCE’s key management section. Then, add a space followed by the username after the “==” sign at the end. This username is used for SSH login and cannot be “root”.
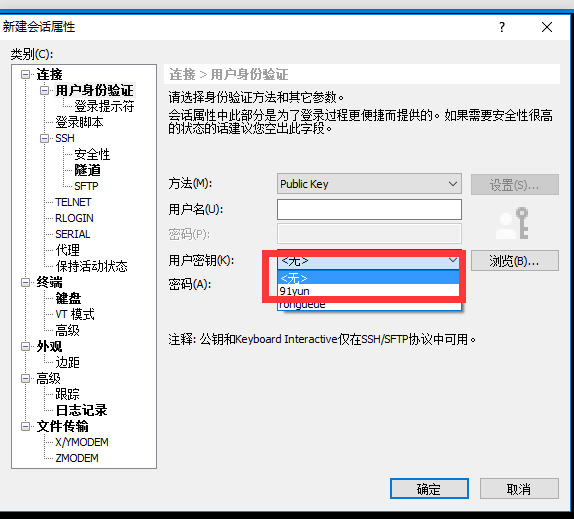
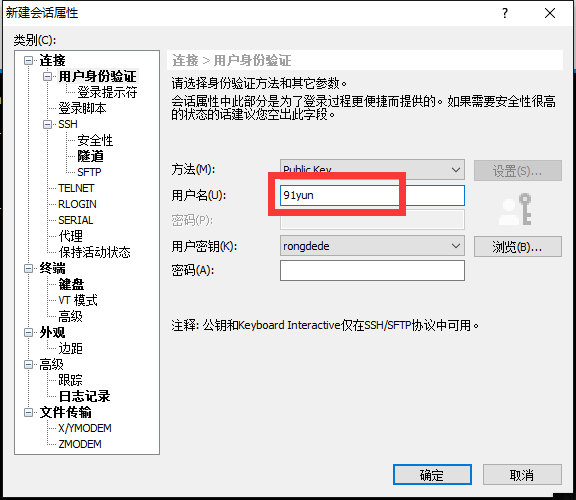
When logging in via Xshell, configure it as shown in the figure: select “Public Key” as the method and choose the key you just generated.
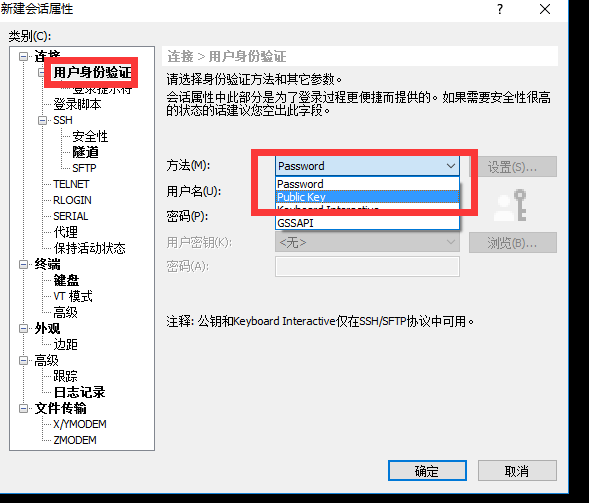
Remember to enter the username you set when adding the SSH key.
Step 5: Firewall Settings
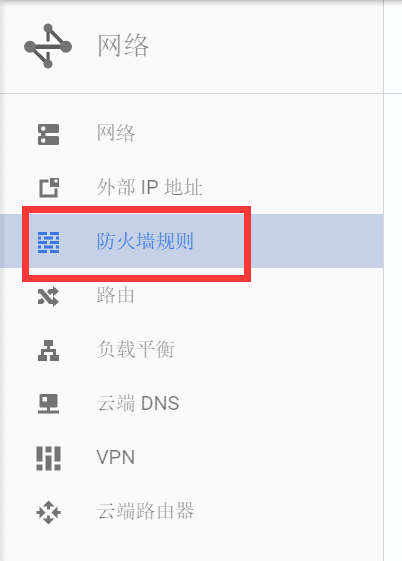
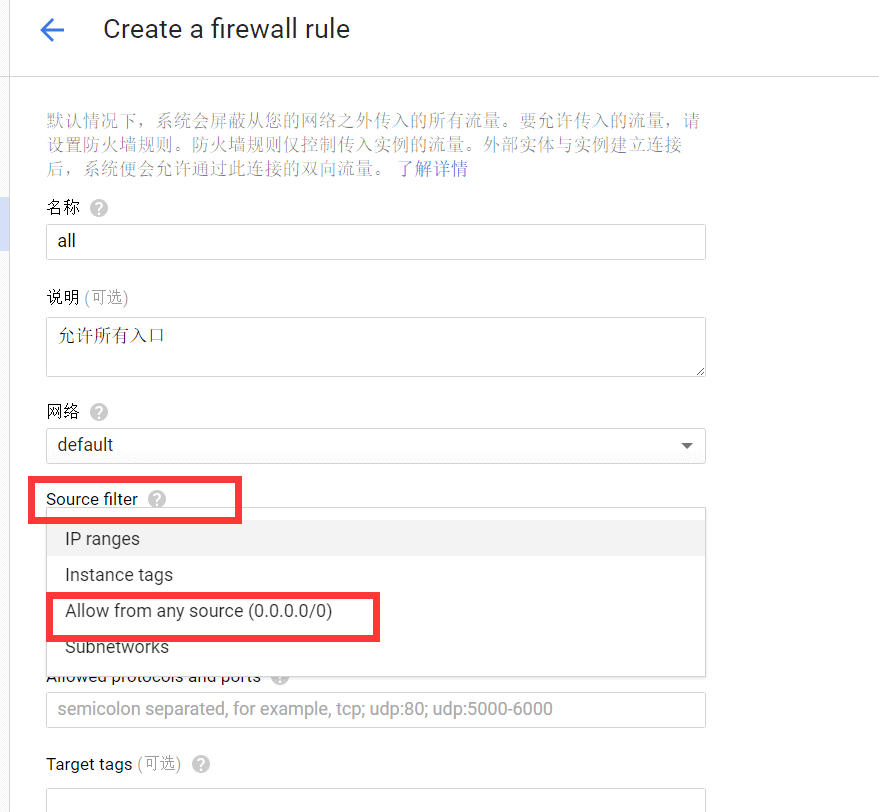
After completing the SSH key setup, you can connect to GCE. However, if we do not configure the firewall, applications like Shadowsocks (SS) will not work. Therefore, we need to open the corresponding ports in the firewall.
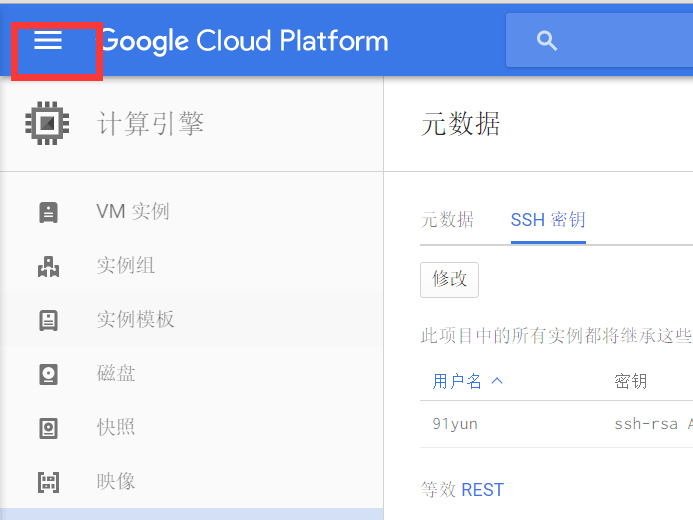
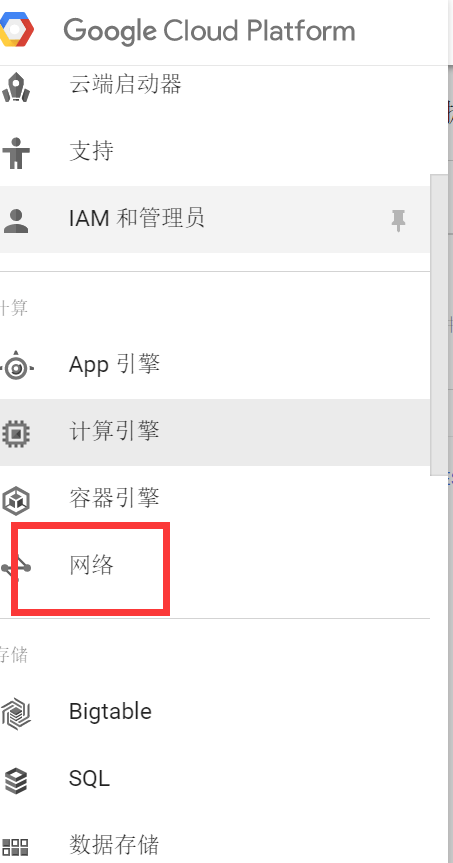
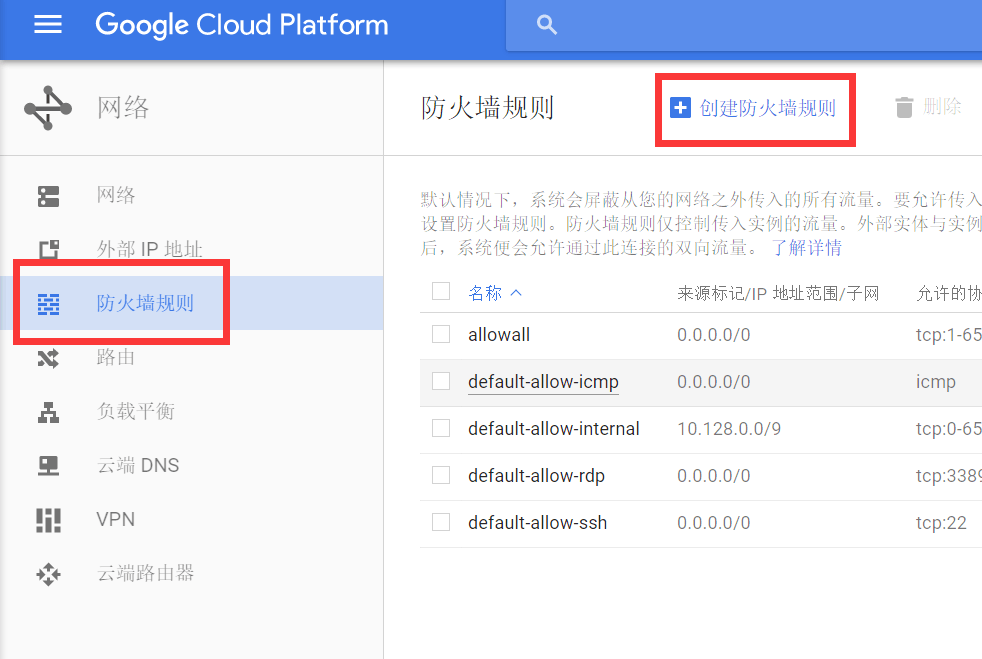
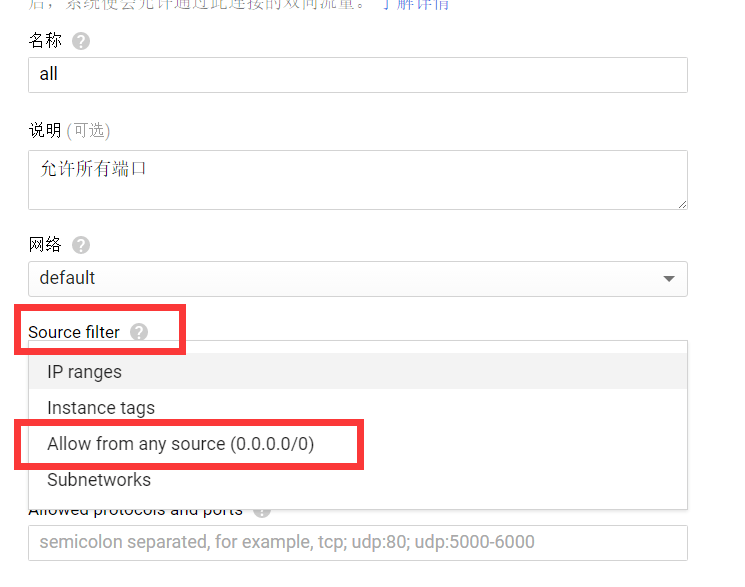
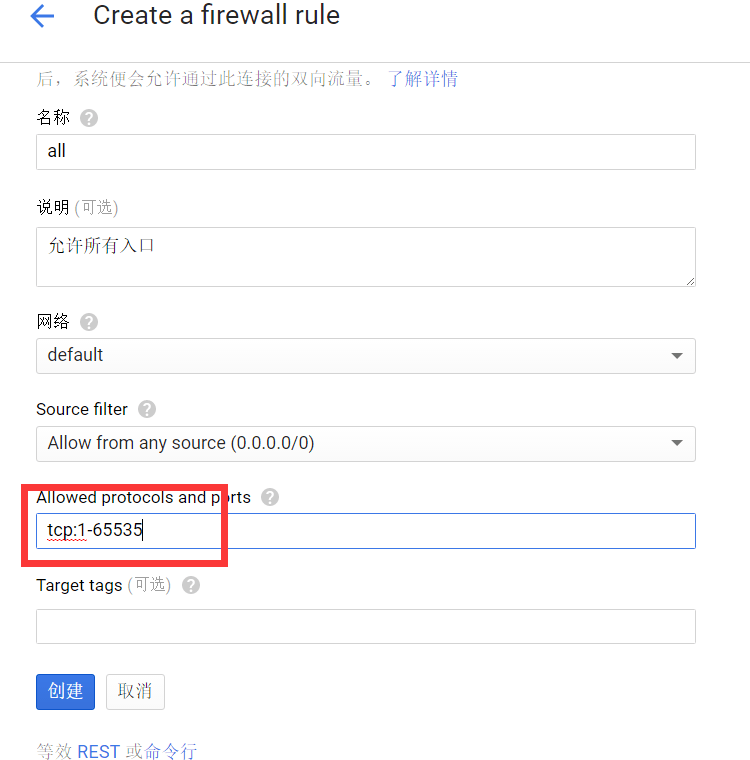
There are two main firewall settings. For “Source Filter,” select “Allow from any source.” In the allowed ports field, enter all ports.
Step 6: Obtain Root Privileges After Connecting via SSH
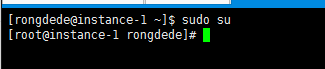
Since GCE does not allow logging in directly as root, what should we do if we need root access? You can log in normally and then use the `sudo su` command to temporarily switch to the root user.
OK, at this point, your GCE instance is ready for normal use.