EC2 (Elastic Compute Cloud) is one of the services provided by Amazon Web Services.
This guide explains how to create an AWS EC2 instance (using Linux as an example) and how to log in to it.
Creating and Logging into an EC2 Instance
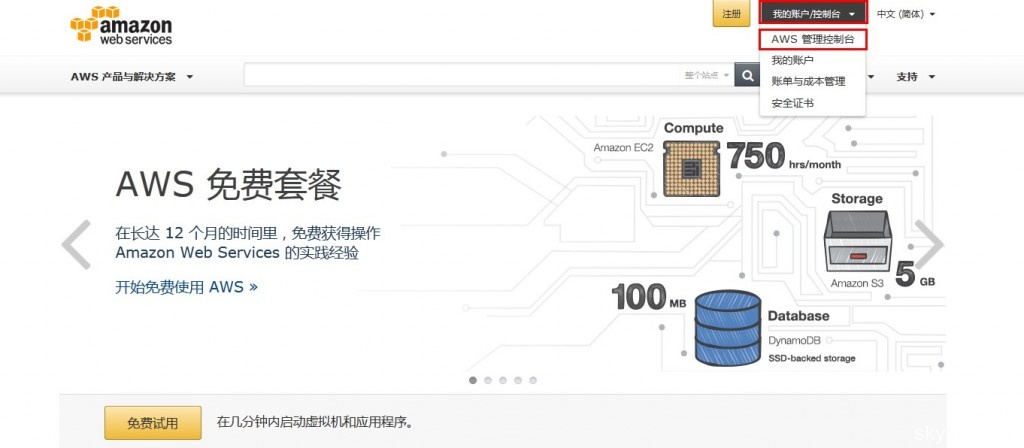
Step 1: Log in to the AWS Console
Open the official website at Amazon Web Services Management Console.
Enter your account credentials.
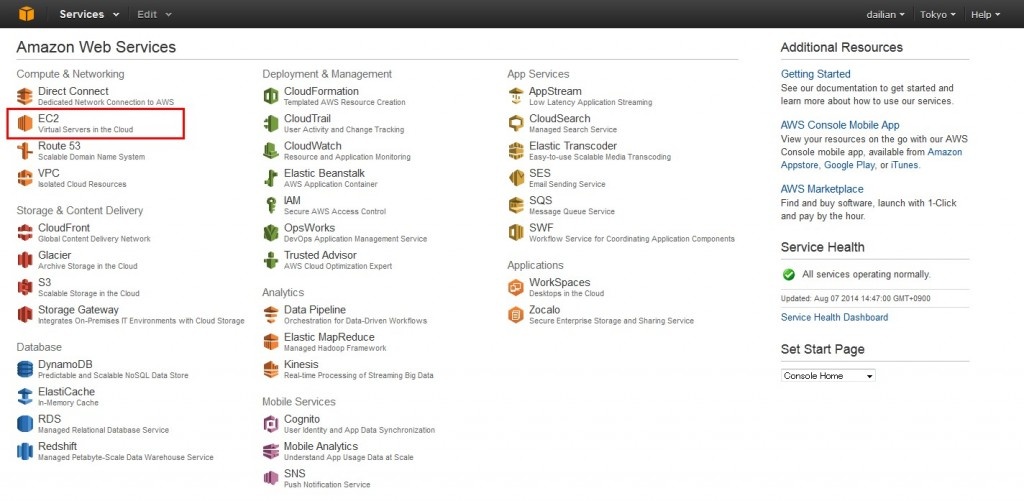
Step 2: Navigate to EC2 Services
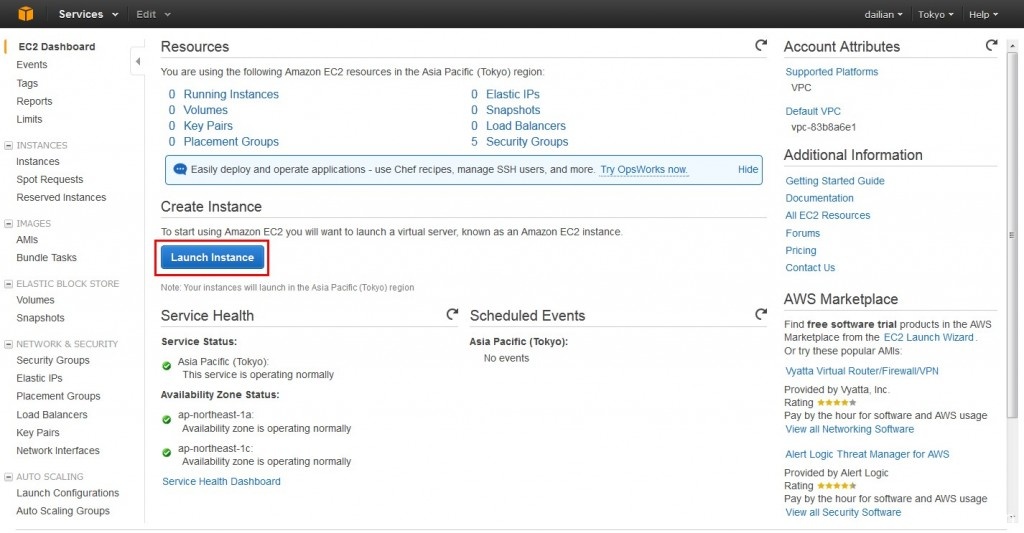
Step 3: Launch an Instance
Step 4: Choose an Operating System (Example: RedHat)
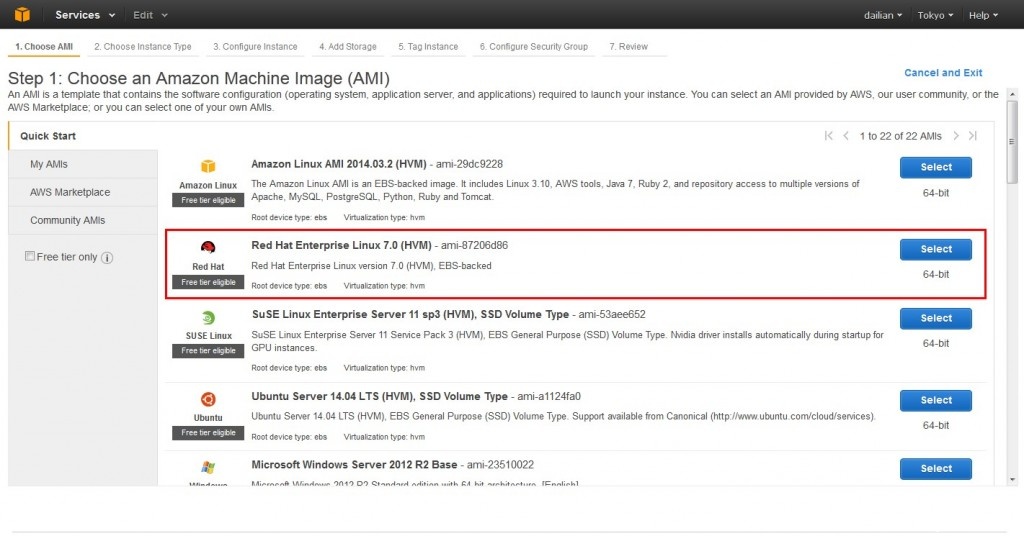
Step 5: Select Instance Configuration (Example: Free Tier)
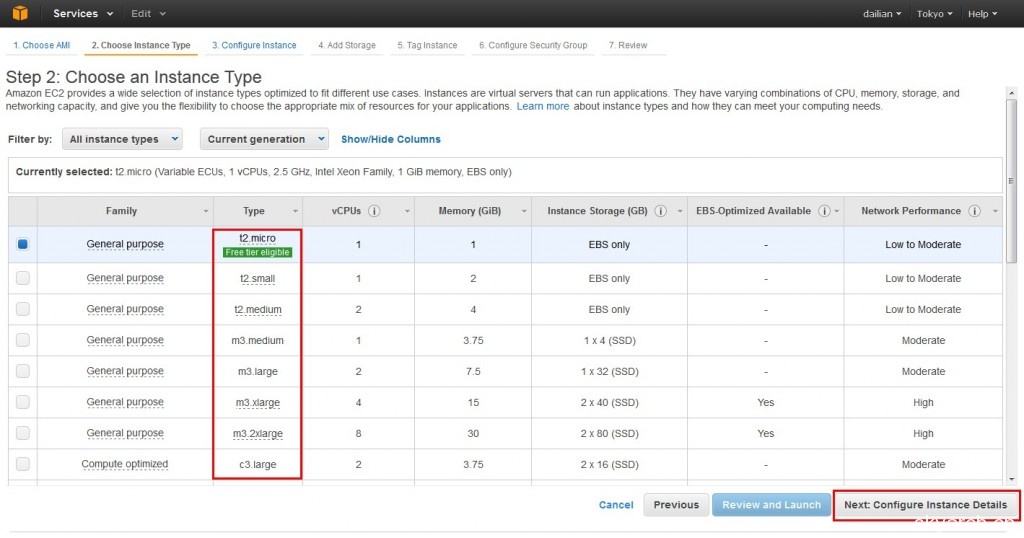
Step 6: Configure Instance Details (Defaults are fine unless specified otherwise)
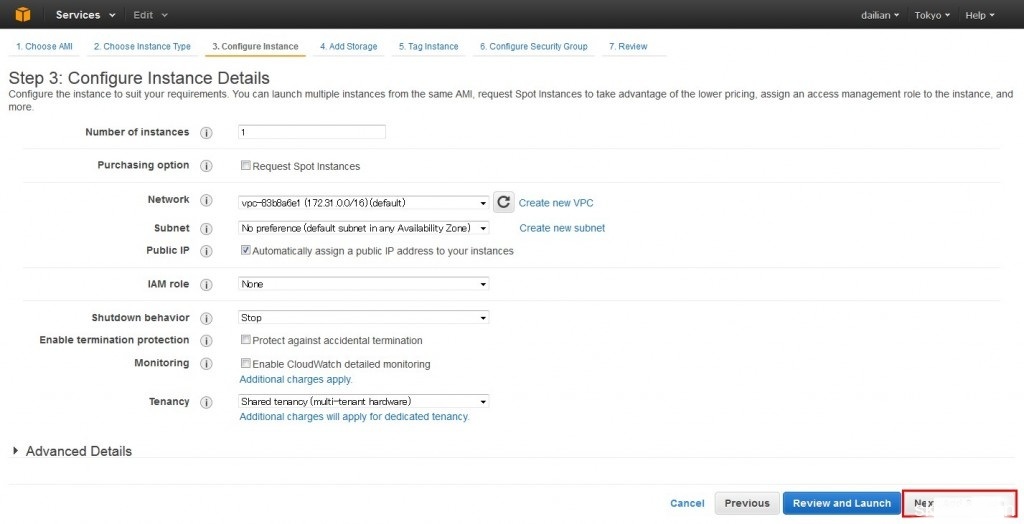
Number of instances — Number of instances to create
Network — VPC configuration
Subnet — Subnet configuration
Public IP — Whether to assign a public IP
Shutdown behavior — Shutdown action selection
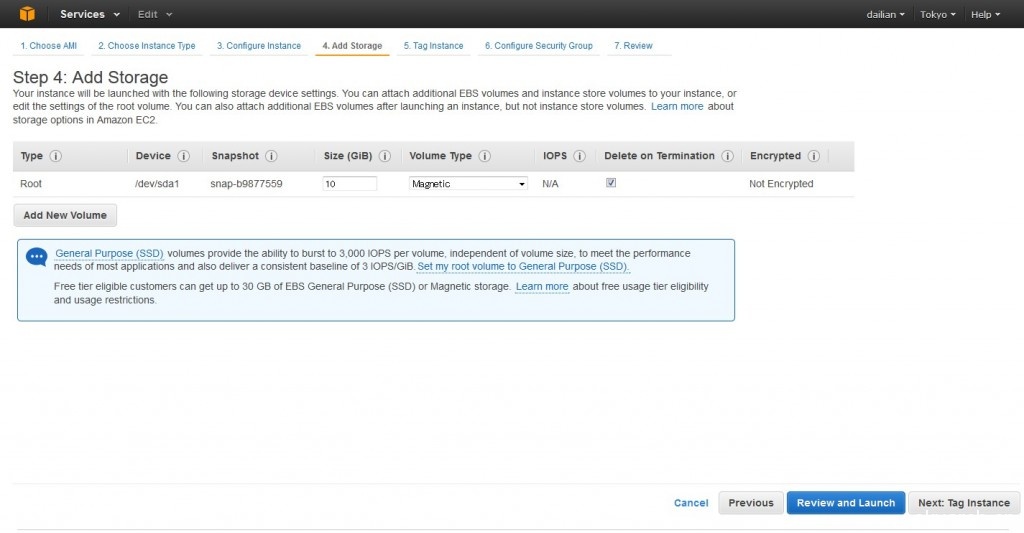
Step 7: Add System Disk and Other Storage
By default, EC2 does not come with a system disk pre-configured; users must specify the system disk size. You can also add data disks here.
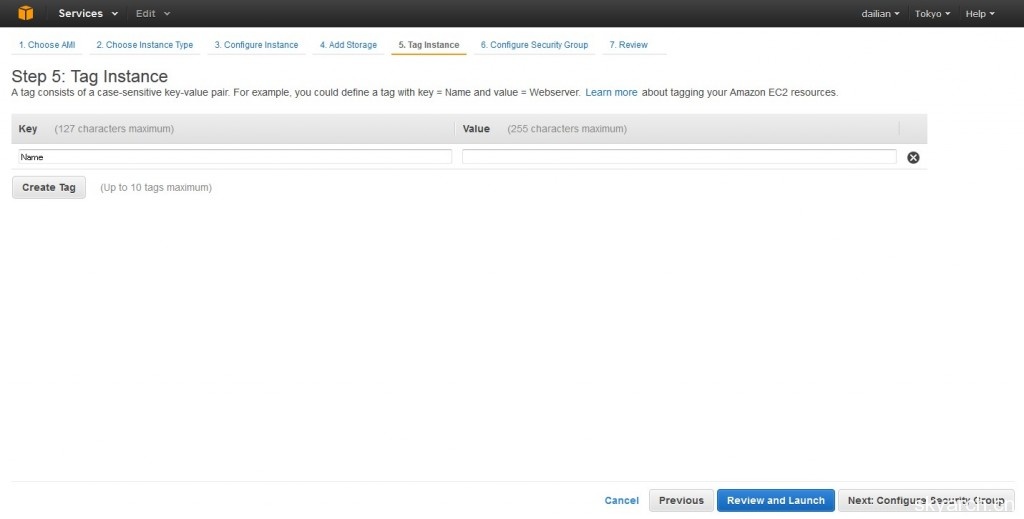
Step 8: Enter Instance Tags (Optional)
Step 9: Select Security Group (You can use the default or create a new one; this guide uses the default)
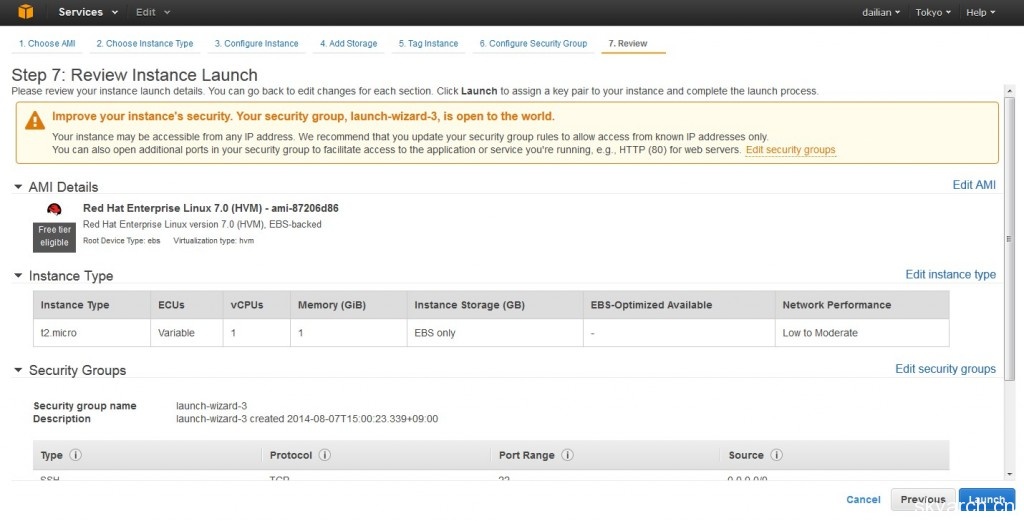
Step 10: Review Instance Launch Settings
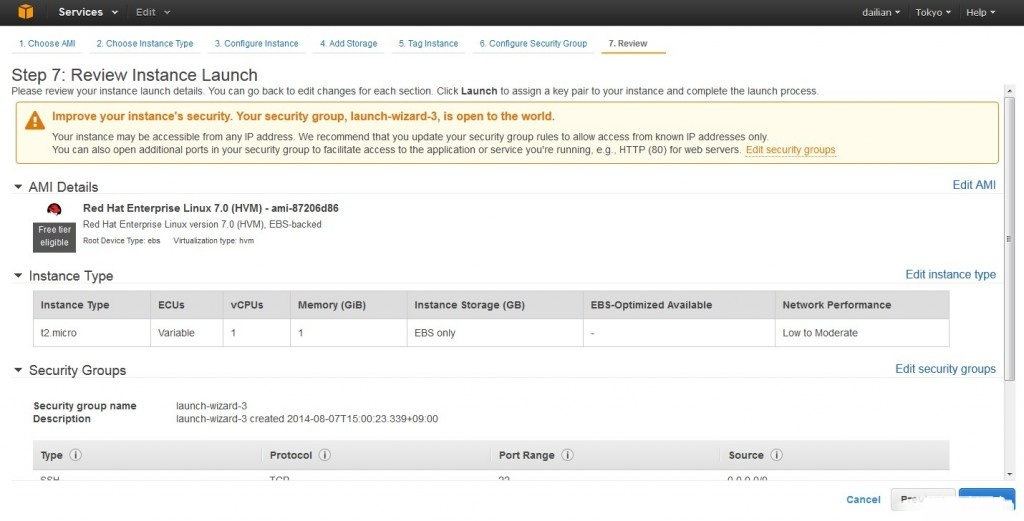
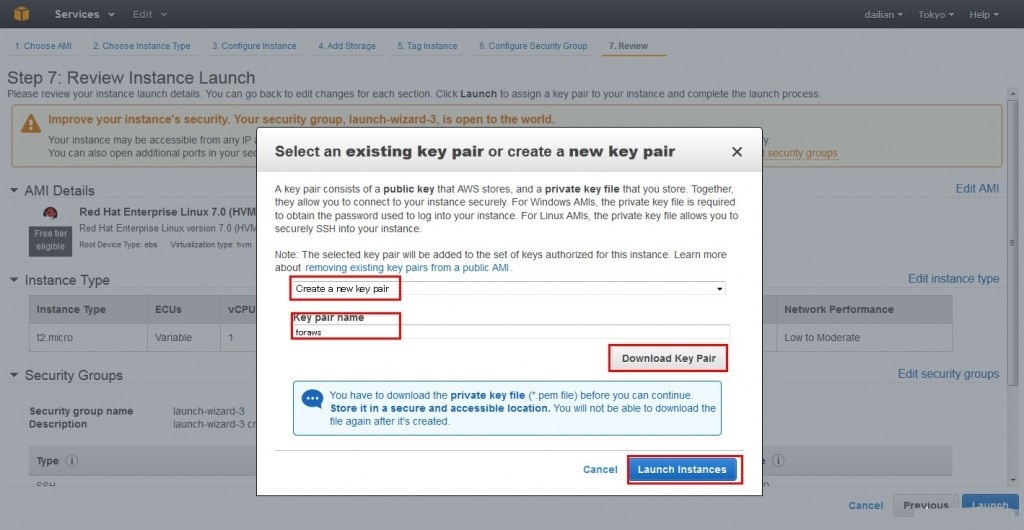
Step 11: Create or Select a Key Pair (Crucial Step)
If you do not have an existing key pair, you must download the newly created one before launching the instance. Otherwise, you will not be able to log in to the instance after creation.
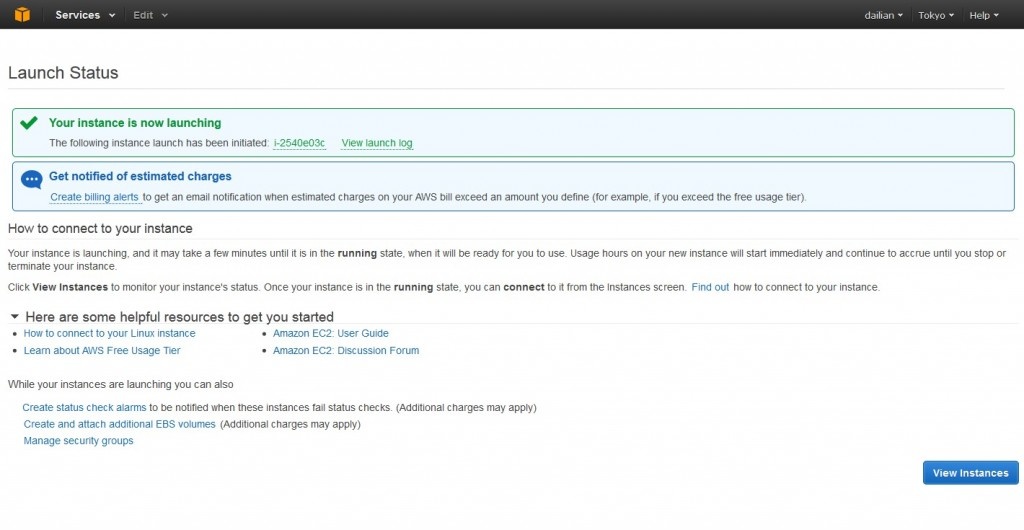
The following screen indicates that your instance has been successfully created.
Let’s check our instance. You can see information such as the instance ID. Note that this instance does not have a static IP; the system assigns a dynamic IP that changes upon restart. Therefore, we need to create an Elastic IP for this instance. This guide will not cover that in detail; future articles will explain how to create a public IP. For now, we will use the assigned public IP to log in.
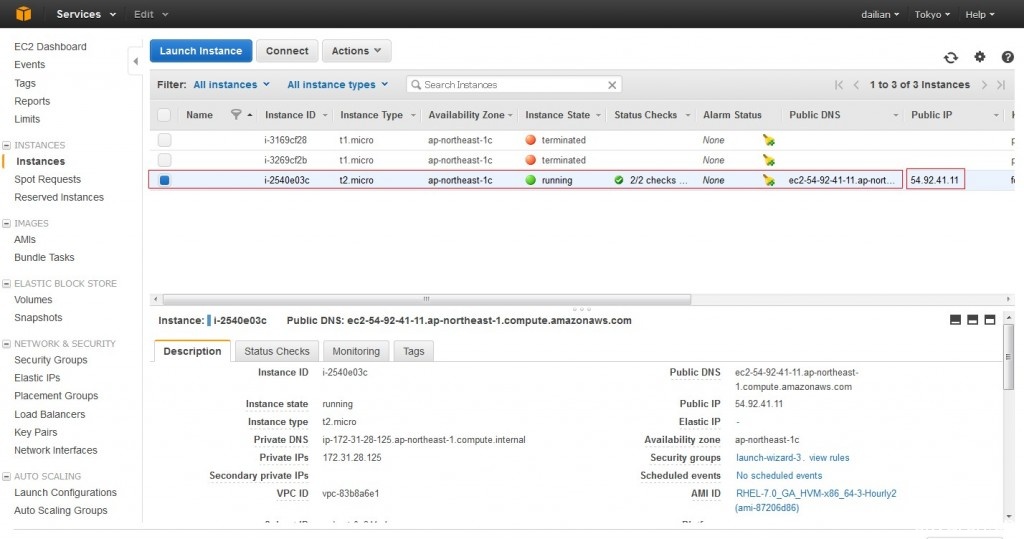
I am using Tera Term as my tool. Due to work requirements, I installed the Japanese version. Enter the assigned public IP: 54.92.41.11
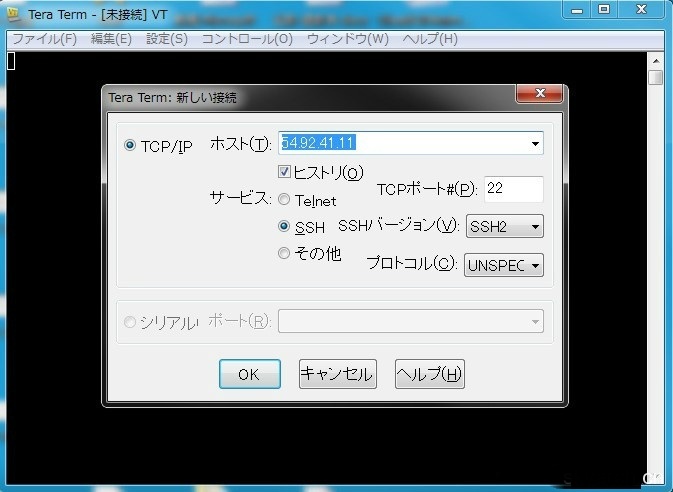
You cannot log in as root; you must use the ‘ec2-user’ account.
The key file is the one downloaded when creating the key pair. Click “OK” to log in successfully.
Now you can use this free Amazon cloud server to create a personal website.
If you are using CentOS, you can log in directly as the root user.