Elastic IP (EIP) is the public IP service provided by AWS, reflecting the loosely coupled nature of AWS architecture.
Since IP addresses are completely decoupled from EC2 instances, you can manage IP addresses with complete flexibility.
Below is a guide on how to allocate an EIP and associate it with an EC2 instance.
Creating and Associating an EIP
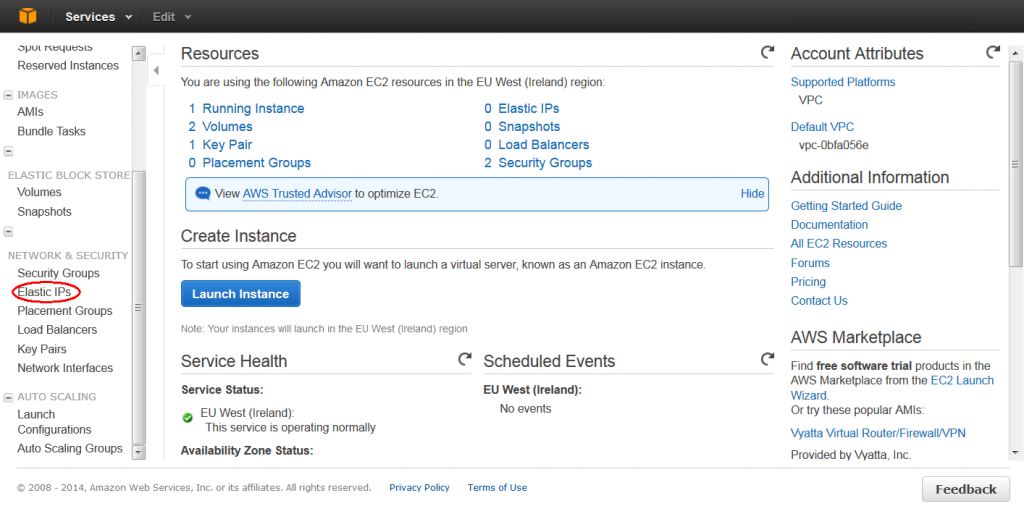
- After logging into the AWS Management Console, click on Elastic IPs under the NETWORK & SECURITY section.
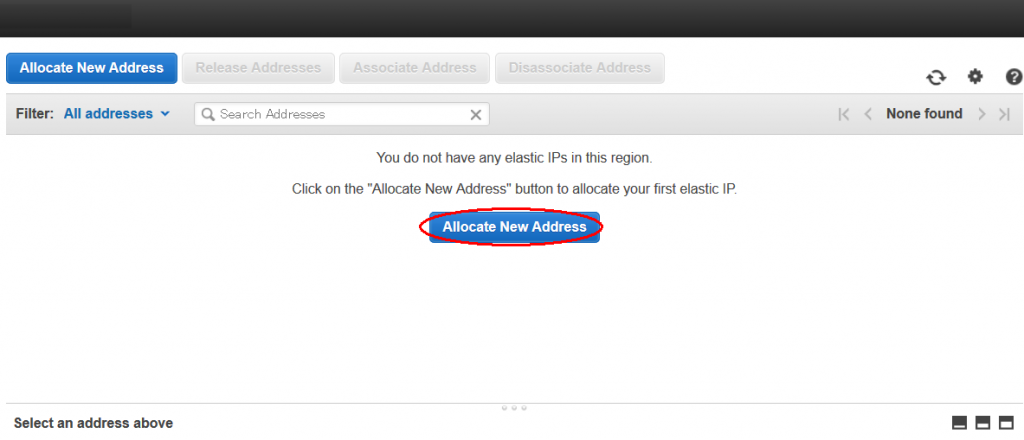
- Click on Allocate New Address.
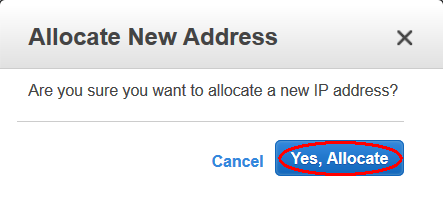
- Click Allocate.
- Click Close.
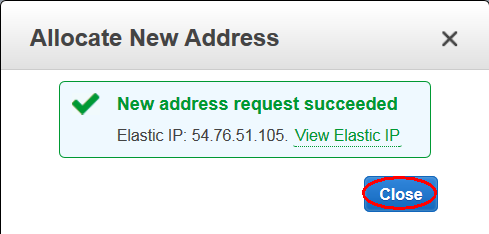
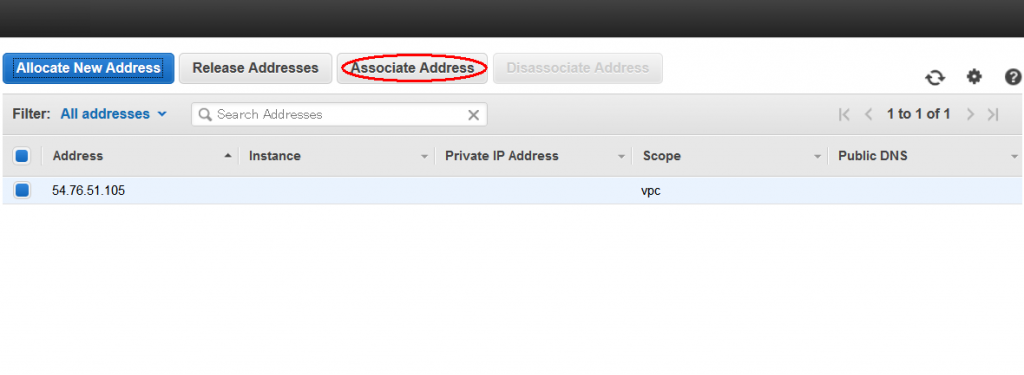
- Once you confirm the allocated IP address, click Associate Address.
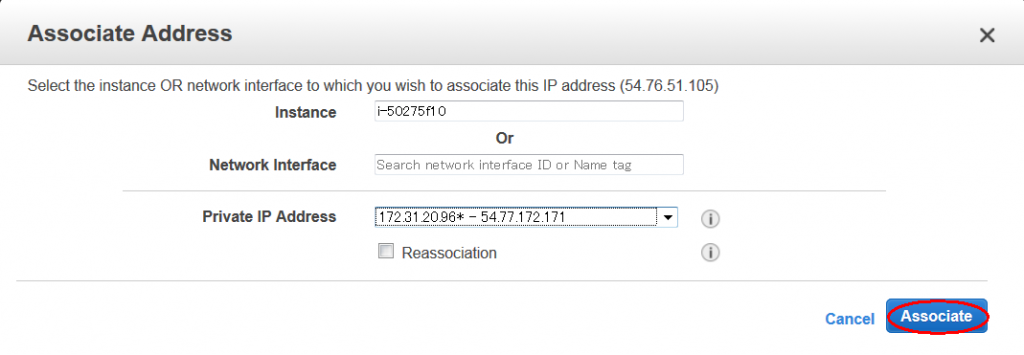
- Select the EC2 Instance ID and click Associate.
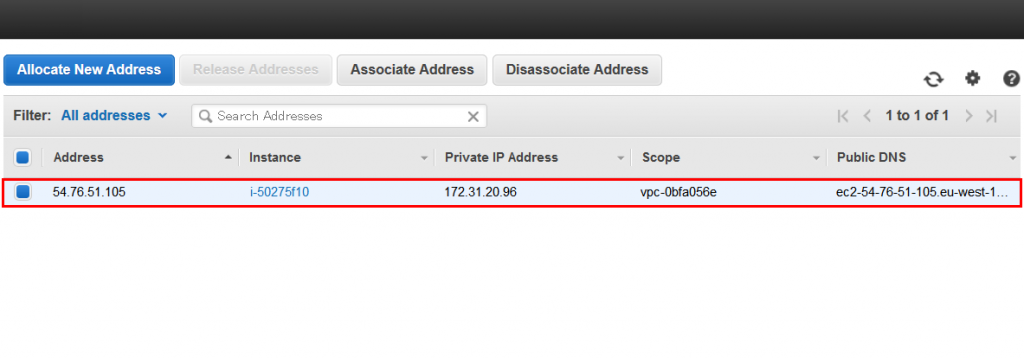
- You will see that the created EIP has been successfully associated with the specified EC2 instance.
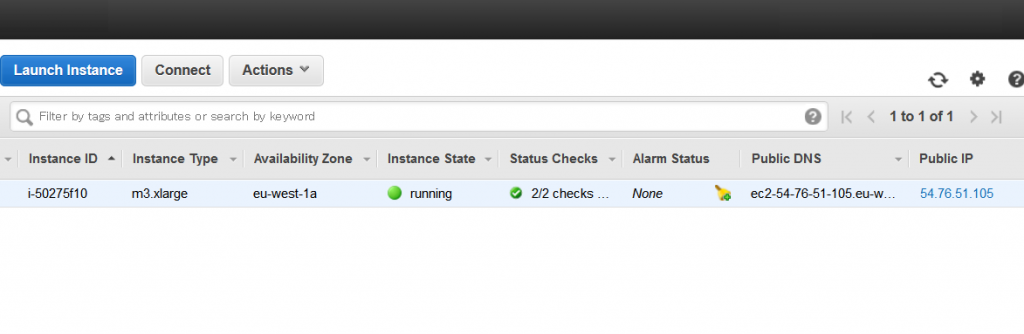
- You can verify this on the EC2 page, where the Public IP matches the EIP address.
Releasing an EIP
When you are done using an EIP, do not forget to release it. While associating an EIP with an active EC2 instance is free, AWS charges for any EIPs that are allocated but not associated with a running instance.
The depletion of IPv4 addresses is not a new issue. To conserve IPv4 resources and, more importantly, save costs, you must release EIPs when they are no longer in use.
The process is simple, but if you neglect it, you will see EIP charges on your next bill.
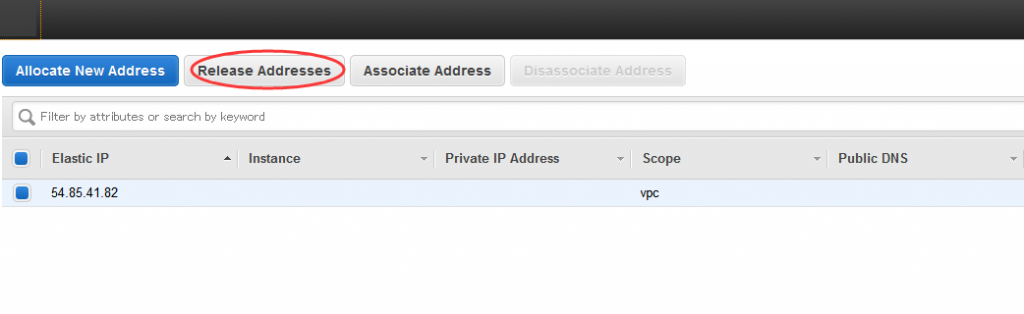
- Select the EIP and click Release Addresses.
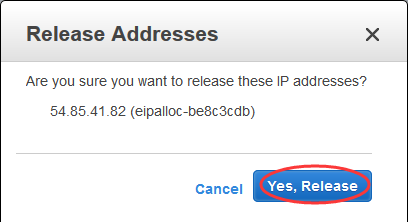
- Click Yes, Release.
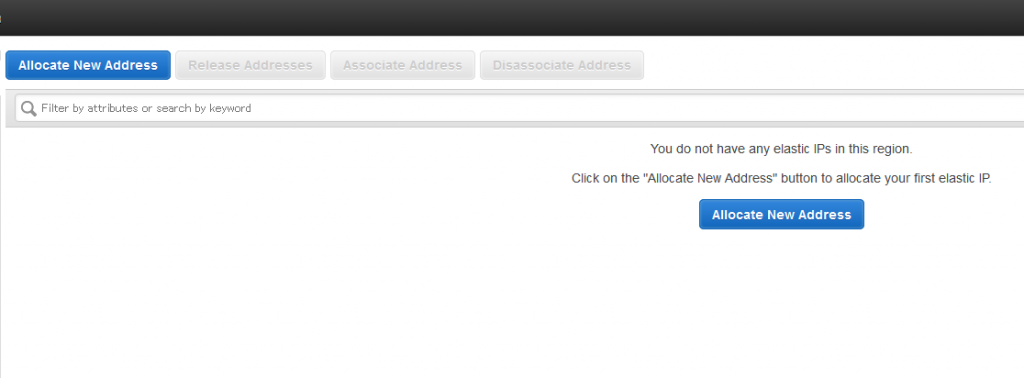
- The EIP is now gone, so you can rest assured.
Summary
We have omitted the steps for disassociating the EIP from the EC2 instance. We encourage you to practice these operations yourself in the AWS Lab (QwikLabs).
EIP is a very user-friendly service. You can acquire and use EIPs freely without charge as long as they are associated with running instances. However, if you allocate an EIP and do not use it, you will incur additional costs.