Taking the migration of a Windows Azure VM to Alibaba Cloud as an example, you can export the system disk of the VM in Windows Azure and synchronize it online to an Alibaba Cloud ECS VM without redeployment, using a simple synchronization tool.
- The OS version and CPU word size of the source Azure VM and the target Alibaba Cloud ECS VM must be consistent.
- This article uses Ubuntu 14, 64-bit version, which is supported by both Alibaba Cloud and Windows Azure, as an example. Migration of other Linux versions can refer to this process.
- See the URL for Linux versions supported by Alibaba Cloud:
- See the URL for Linux versions supported by Windows Azure:
http://www.windowsazure.cn/zh-cn/documentation/articles/linux-endorsed-distributions
- This solution uses online migration. Both the Alibaba Cloud VM and the Windows Azure VM need public IP addresses to proceed.
- Migrating AWS EC2 VMs to Alibaba Cloud can also refer to this document.
- Non-system disk migration can be completed using traditional methods like sftp or rsync; this article does not describe this.
Preparing the Alibaba Cloud Environment
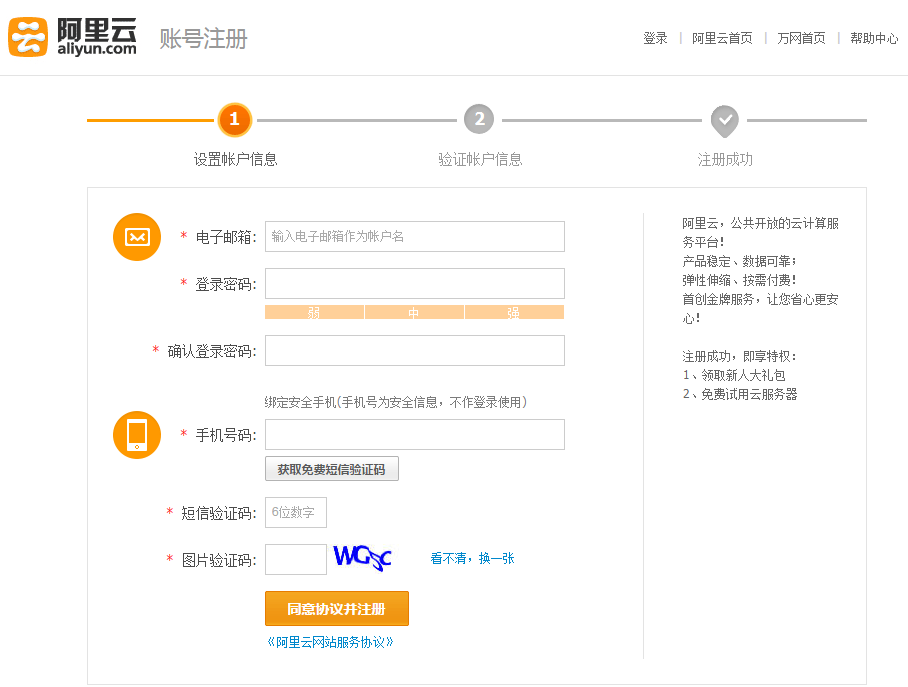
1. Log in to Aliyun.com and first register for an Alibaba Cloud account.

2. The registration process is simple. You need a mobile phone capable of receiving SMS messages. Fill in the required information to complete registration.
3. Log in to your Alibaba Cloud account and create an ECS instance.

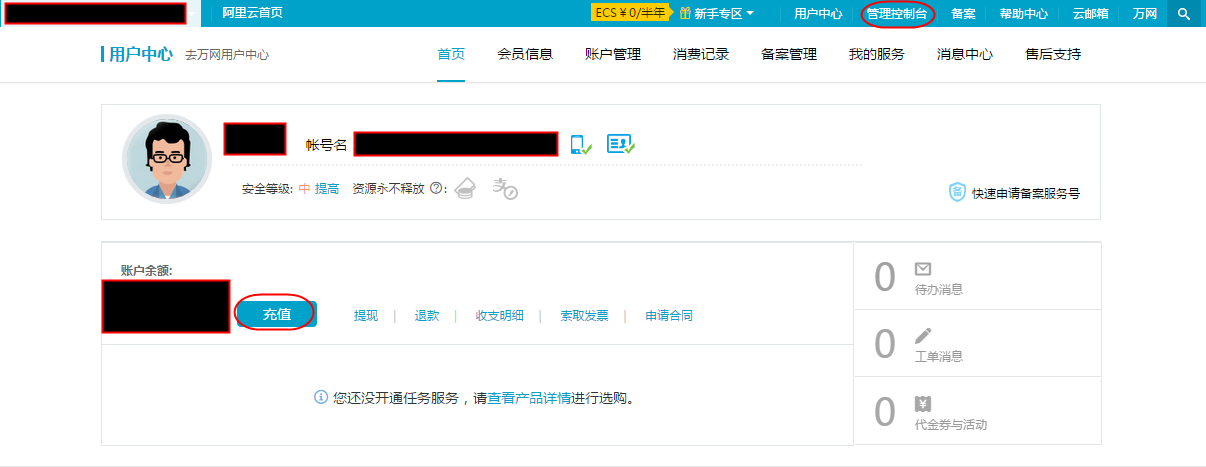
After logging in, the user center interface will appear. The default account balance is 0 yuan. Please recharge according to the service you wish to create. The specific amount to recharge can be determined based on the cost provided by the system during the creation steps, then return to this page to complete the recharge operation.
Click “Management Console” at the top of the interface,
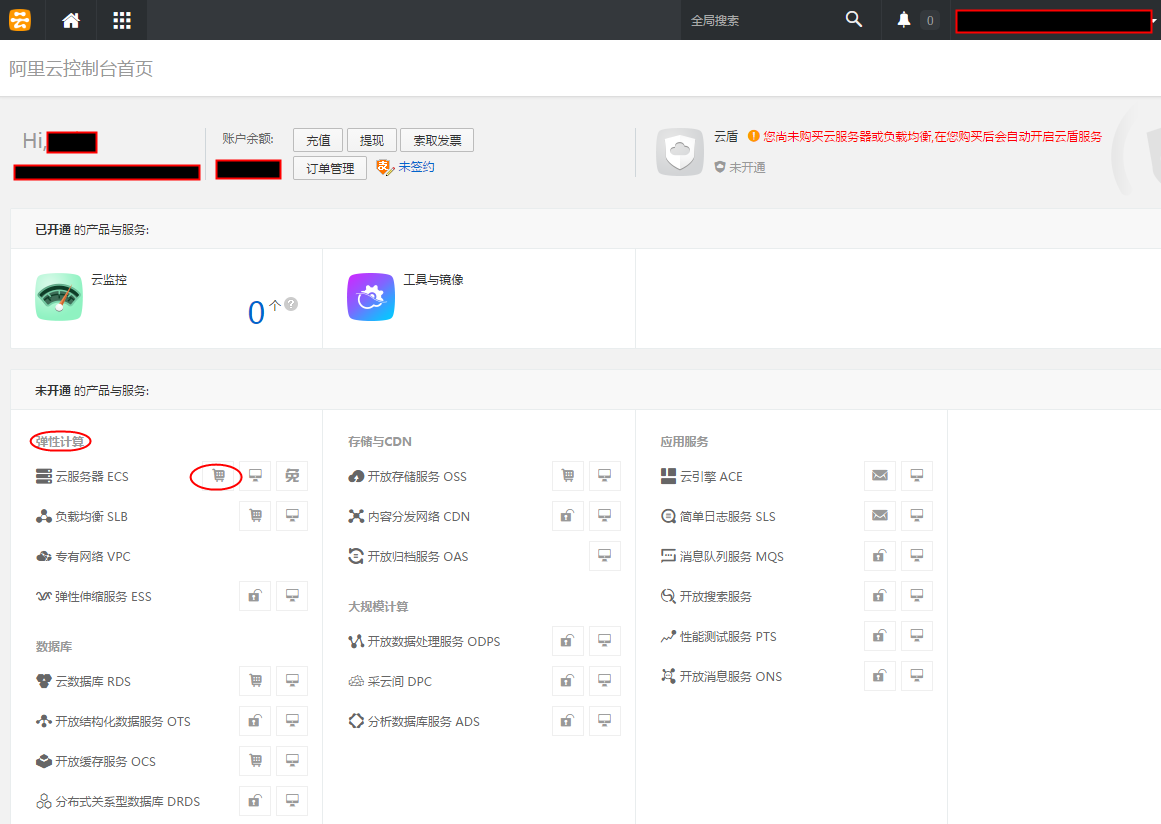
Click “Elastic Computing,” then click “Shopping Cart.”
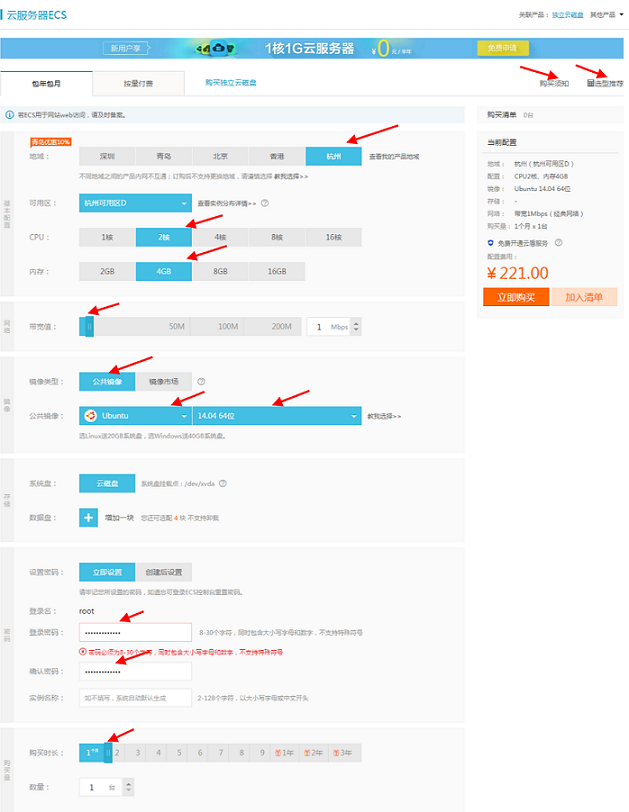
The Cloud Server ECS application interface will appear. Select “Subscription” (Annual/Monthly) or “Pay-As-You-Go” based on user needs. For details, refer to Purchase Notes and Recommendations on the right side of the page.
For this experiment, we selected the Hangzhou region. All other configurations remain consistent with the source VM to be migrated.
Here, we selected 2 CPU cores, 4GB memory, bandwidth of 1Mbps, Public Image type, Version Ubuntu 14.04 64Bit, in Hangzhou Zone D. After clicking Buy Now, a VM was created on the Alibaba Cloud Hangzhou node.
Click Management Console.

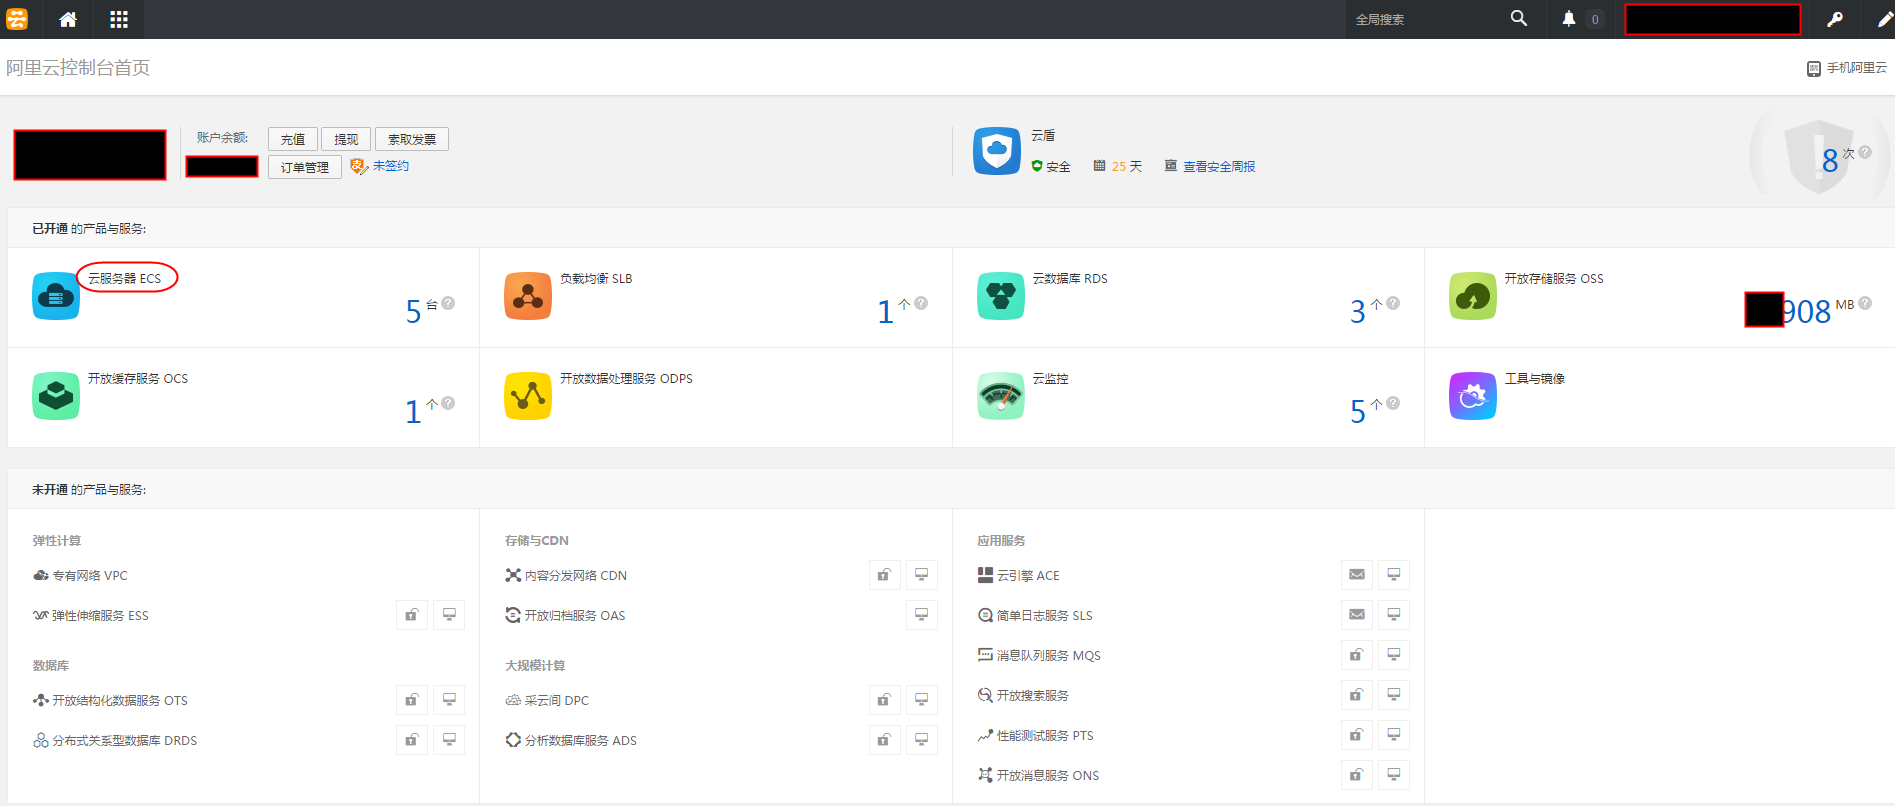
View the VM just created through the Alibaba Cloud console by clicking Cloud Servers ECS.
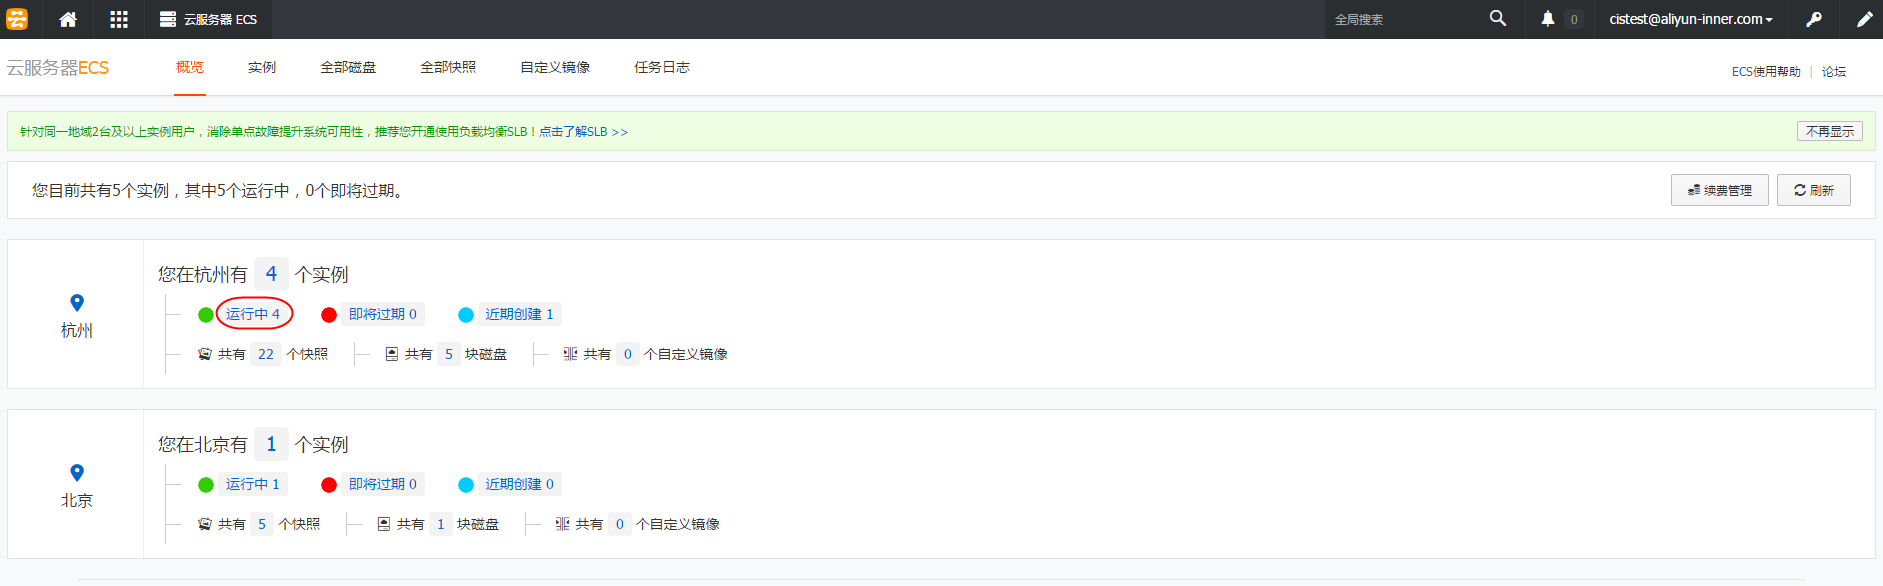
At this point, you can see 4 instances running in Hangzhou. Click Running.
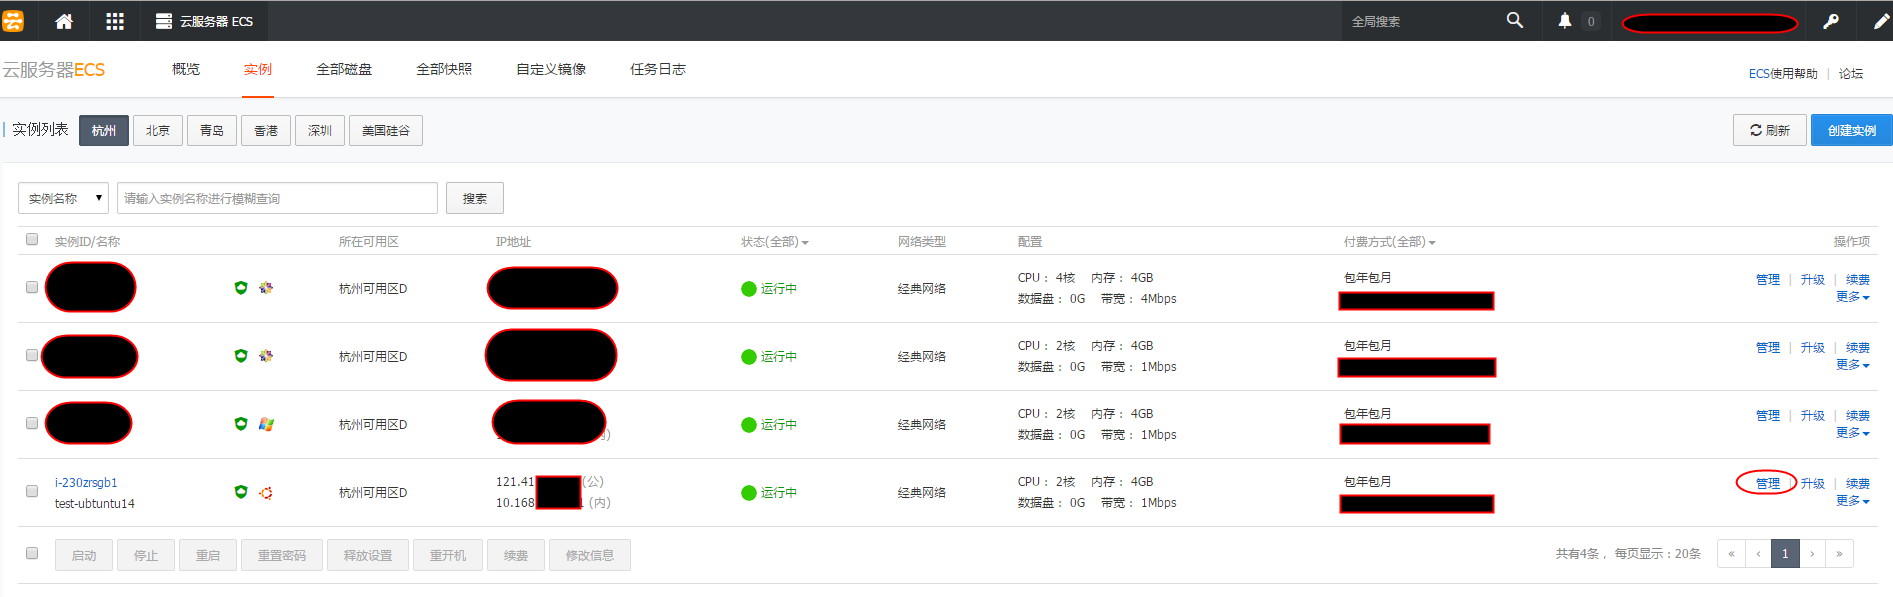
Click into it to see the newly created Ubuntu VM instance. Click Manage to enter the instance details page.
On the instance details page, you can view the information of the VM just created. Confirm the CPU and memory configuration here, and record the public IP address of this VM for later connection.
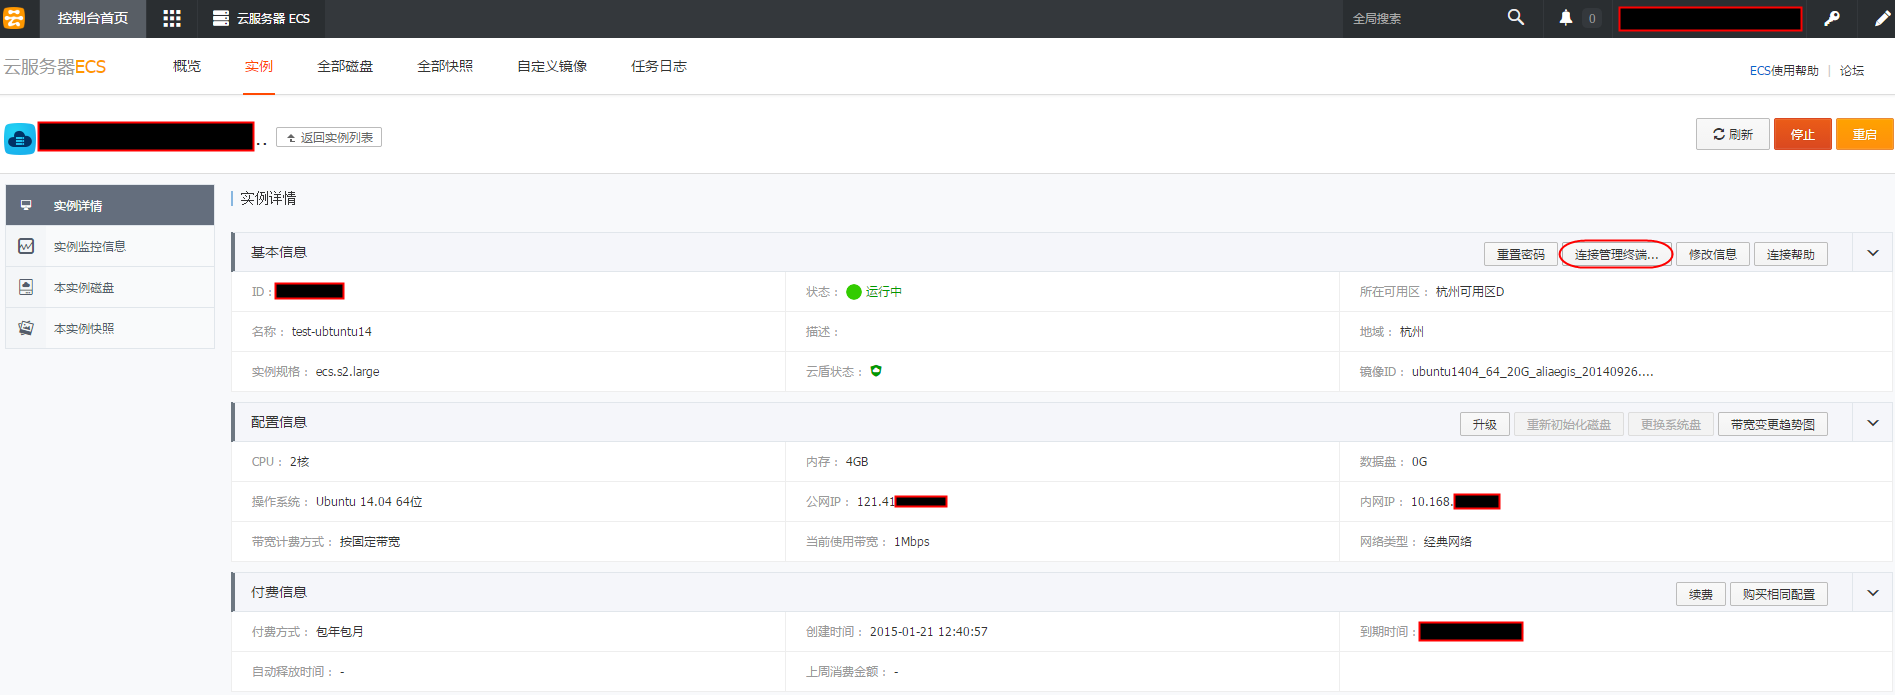
Alibaba Cloud provides two modes for logging into Alibaba Cloud VMs: one is the web mode shown above, click Connect Management Terminal to log in.
The other is using a standard SSH client to log in via the Alibaba Cloud VM’s public IP and root username/password.
Since migration takes time, use the SSH client method to log in and execute migration commands during the migration phase.
Preparing the Source Environment for Migration
1. Log in to the Azure VM management interface.
2. Manually stop application services on the Azure VM to be migrated. This ensures no new data is generated on the VM disk during synchronization.
3. If the Azure VM has multiple disks, ensure non-system disks are unmounted.
4. Users need to obtain the password for the root account in advance.
5. Given the actual differences in default disk space between the two cloud providers, it is recommended that the system disk usage on the Azure source end does not exceed 15GB during migration.
Migration Operation
Working Principle:
- Use the same major version of Linux OS on the Alibaba Cloud VM and the source VM to be migrated, e.g., both are Ubuntu 14.X.
- The tool synchronizes the system by remotely connecting to the Azure VM via SSH from the Alibaba Cloud VM. Ensure the sshd service is enabled on the Azure VM.
- After the Alibaba Cloud VM finishes synchronizing and automatically restarts, modify related registrations such as DNS from the Azure IP address to the Alibaba Cloud IP address. Modify the service configuration files binding the IP address inside the VM to go live.
1. Download the migration tool on the Alibaba Cloud VM (you can also search for “migration tool” in the help center on the official website).
URL: http://oss.aliyuncs.com/aliyunecs/migrate
Download this tool to the /tmp folder using the root account:
cd /tmp && wget http://oss.aliyuncs.com/aliyunecs/migrate -O /tmp/migrate && chmod +x migrate
See the figure below for migrate command execution parameters.

The migration mainly connects to the remote source VM to be migrated via the migrate tool and automatically completes the entire migration operation.

The tool will automatically connect to the remote source VM via SSH and process it. This step takes a long time, depending on the internet bandwidth of the VMs at both ends. Please wait patiently. When data synchronization is ready, you will see a prompt “end of migrate.”
After data migration is complete, the migration tool performs some subsequent operations on the VM. When all are complete, it will prompt “end of postcheck.” At this point, the disk files of the Alibaba Cloud VM are completely replaced by the disk files of the source VM.
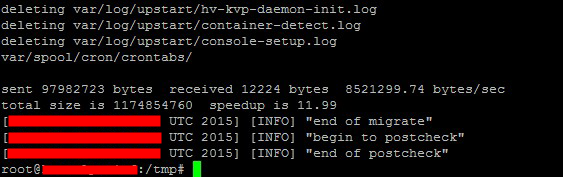
At this point, you can execute the reboot command. After the system restarts, the VM can be logged into normally.
Clear the SSH footprint on the client, otherwise, it will prompt “WARNING: REMOTE HOST IDENTIFICATION HAS CHANGED!”
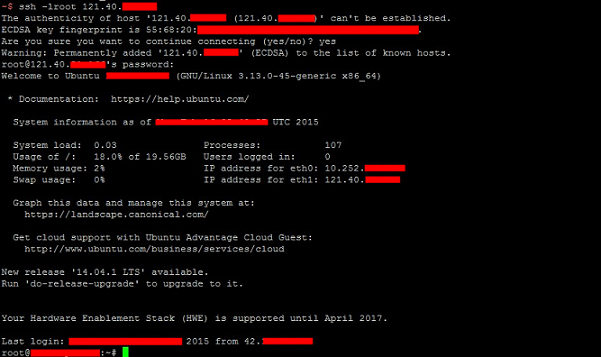
When logging into the Alibaba Cloud VM again, please use the original Azure account and password to log in.
Subsequent Operations
1. After migration, you need to modify the Yum source configuration. Please refer to the Alibaba Cloud official online documentation.
2. Alibaba Cloud provides security protection services (Cloud Shield) on ECS. You need to install the Cloud Shield plugin in the migrated operating system. Please refer to the Alibaba Cloud official online documentation.
3. Based on the application services of the original VM, check if there are configuration files binding addresses. If so, modify them to the Alibaba Cloud VM’s IP address and start the application.
Thus, the migration work is officially complete.